Need a printable version of this article? Download the Article (PDF Version).
Contents:
-
Mouse Commands and the Context Menu
-
Keyboard Shortcuts
-
Copy Contact or Party
-
Drop-Down Lists
-
Ellipsis Buttons
-
Multi-Select Buttons
-
Show Search Results
-
Entering Dates
-
Saving Data
-
Browser Zoom
Mouse Commands and the Context Menu
If one is available, clicking the right mouse button will display the Context Menu. Standard Windows functionality such as Copy (CTRL + C) and Paste (CTRL + V) are available in CLW text fields. Additional right-click options are available in specific fields. These include Send Email for staff fields, Duplicate and Dispo (for Disposition) on Calendar events, and New, Edit, and Delete on Payment fields.
Keyboard Shortcuts
The keyboard is the quickest method of data entry. Standard Windows shortcuts are available in CLW text fields:
| Ctrl + X | Cut |
| Ctrl + C | Copy |
| Ctrl + V | Paste |
| Ctrl + Z | Undo |
| Tab | Move to next field |
| Shift + Tab | Move to previous field |
Copy Contact or Party
With a Contact or Party name highlighted:
| F9 | Copies the name and address to the Windows clipboard. |
Drop-Down Lists
Click on a drop-down list arrow to display all valid codes for a particular field, or type a known code directly into the box.

With the drop-down box selected, you may also hit the down arrow key on your keyboard to display the list of valid codes.
The system will not allow you to type a code which is not in the drop-down list of valid codes.
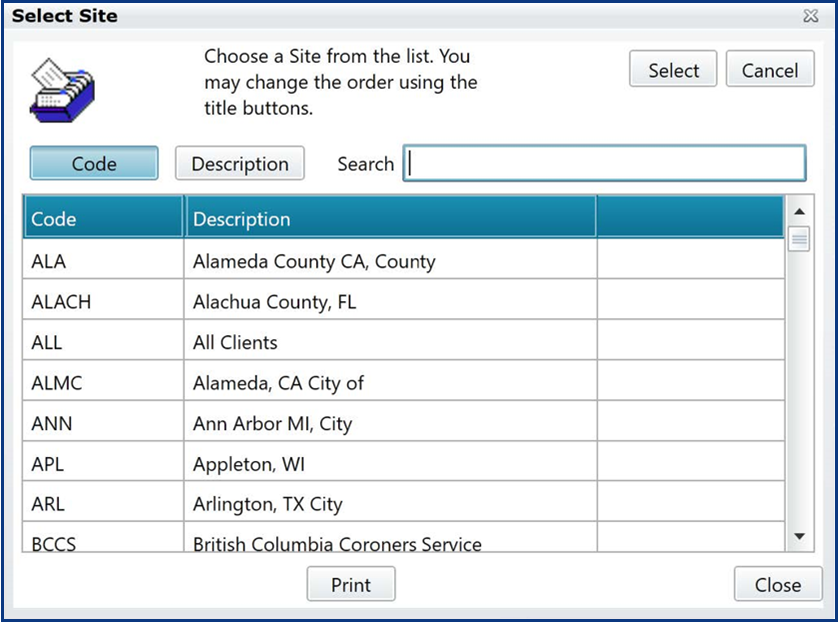
Ellipsis Buttons
Select an ellipsis button ("...") to display all the available choices for a field and select one of them. The list of choices can be sorted by Code or Description. Highlight your selection and hit the Select button to insert that value.
Multi-Select Buttons
Select a multi-select button ("++") to display all the available choices for a field, and one or more of them. Use the arrow buttons to select and deselect codes.
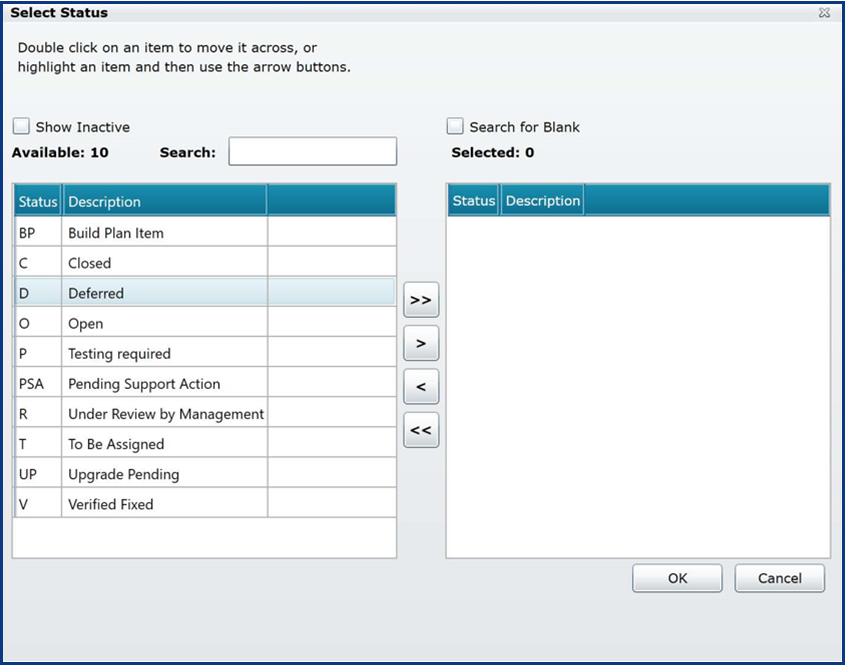
NOTE
When using multi-select buttons in the Search window, marking the Search for Blank checkbox above the Selected list will include matters in your search results which have a blank value in that field. This is a good way to search for cases with incomplete entries, for example.
Show Search Results
If the Search Results window has been closed or collapsed, selecting the magnifying glass at the right-hand side of the Module Toolbar will display it again.
![]()
Alternatively, select the Search Result tab at the right side of the Module view:
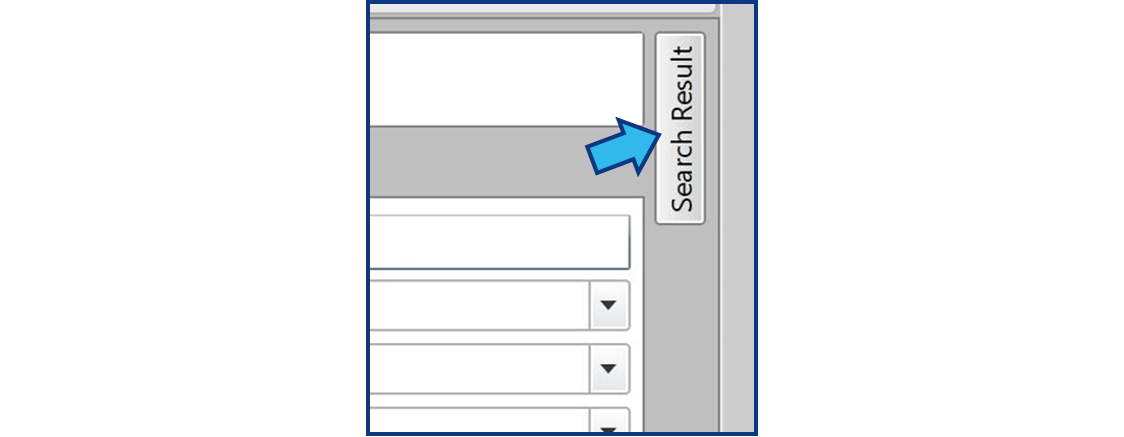
Then select the thumbtack button to pin it so it remains open:

Entering Dates
A date can be typed directly into a date field in the format “mmddyy”, or “mmddyyyy”.
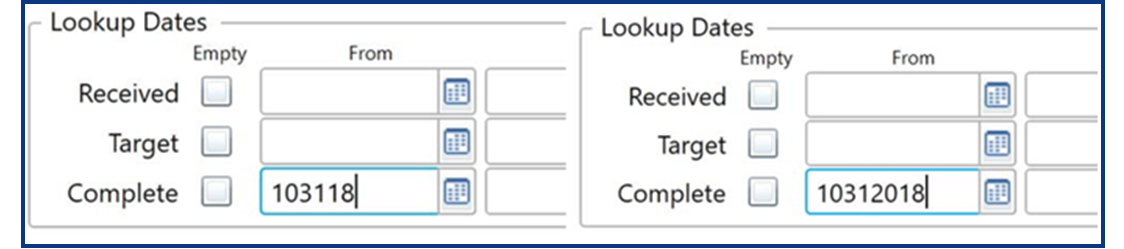
Hit the Tab key to navigate away from the date field and the date will auto-format to “mm/dd/yyyy”.
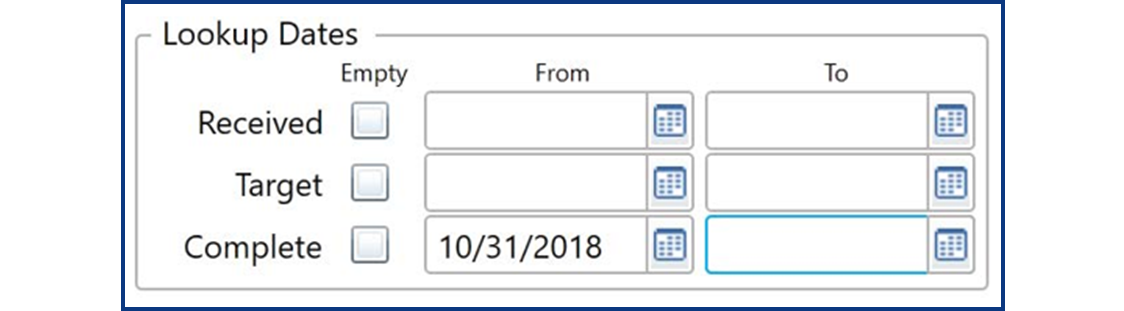
With a date field selected, use the arrow keys on the keyboard to open the Date Picker and navigate between dates.
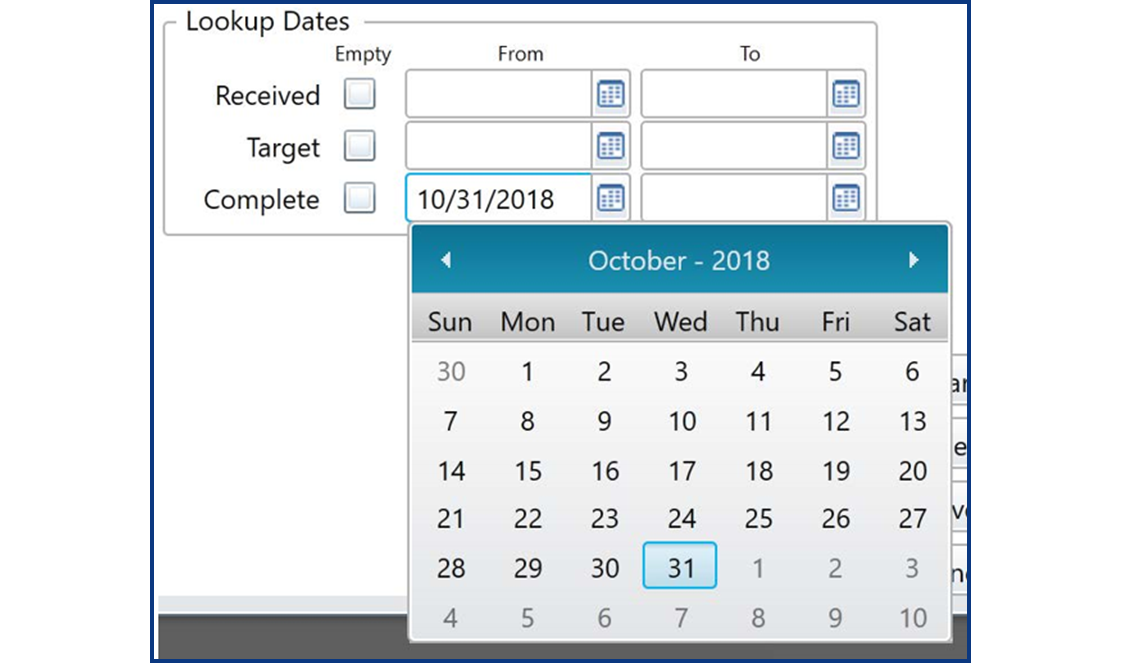
The Date Picker can also be opened by clicking the Date Picker button at the right of any date field.
Saving Data
In a screen or window, if there is no Save button, or if the system does not prompt the user to save, then data will be saved automatically when the user moves to another screen, such as from the Basic tab of a matter to the Notes tab.
Browser Zoom
CLW was designed to integrate with Internet Explorer's Zoom feature, allowing you to adjust on-screen text and fields to a comfortable magnification.
In Internet Explorer 11, to adjust the Zoom setting, select the Tools button at the top-right of the browser.

The Tools menu opens. Point to “Zoom”, then select the desired zoom percentage.
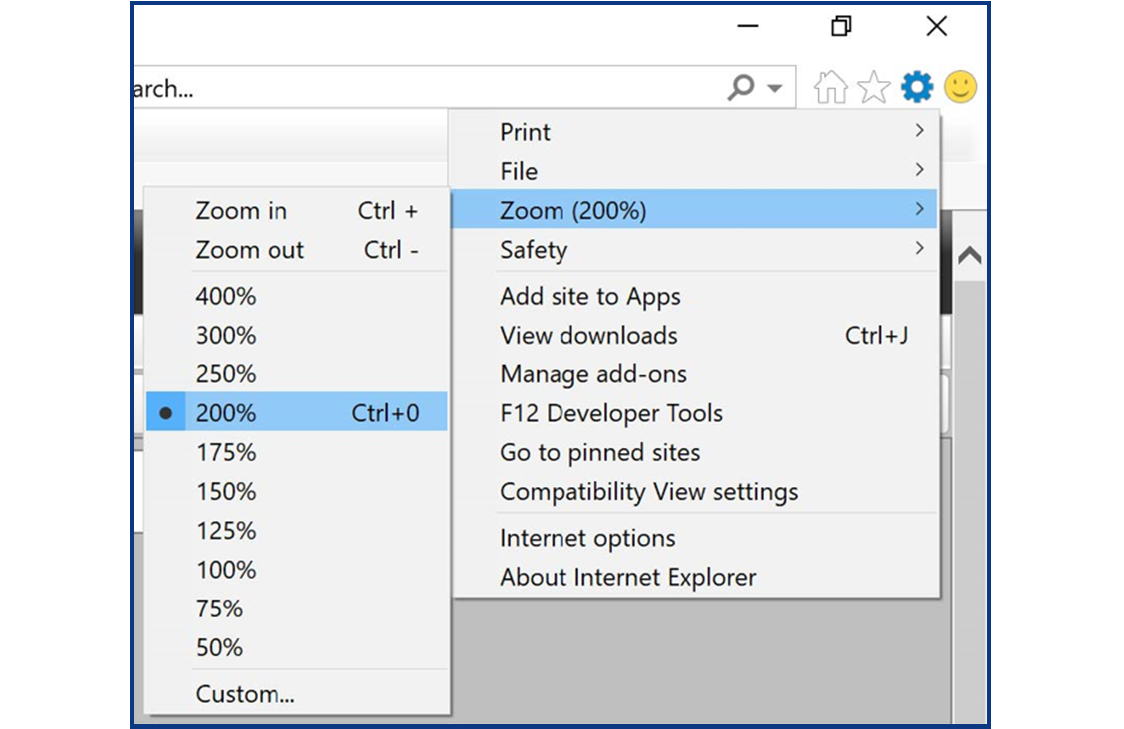
The zoom level can be increased or decreased by one step by holding the Control (CTRL) key on your keyboard and hitting the Plus (+) or Minus (-) keys, respectively.
To return to the default screen zoom level, hold Control (CTRL) and then hit the Zero (0) key. Your default zoom level will vary depending on the size of your computer monitor.
Comments
0 comments
Please sign in to leave a comment.