
Need a printable version of this article? Download the Article (PDF Version).
These notes are provided by Cycom Data Systems, Inc. to support the use of CityLaw / CountyLaw Web (CLW) and are intended to be used for review of general topics covered during training.
If you discover an error in this document, or if you encounter any problems performing any steps described, please contact Cycom Support at support@cycominc.com or by calling 888-292-6688.
Contents:
- Open the Module
- Create a New Matter
- Find a Matter
- Close a Matter
- Print Customized Reports
- Create Built-in Reports
- Basic Tab
- Description Tab
- Status Tab
- Notes Tab
- Keywords Tab
- Contacts Tab
- File Management Tab
Assignments Basic Actions
-
Open the Assignments Module
-
Create a New Assignments Matter
-
Find an Assignments Matter
-
Close an Assignments Matter
Open the Assignments Module
The Assignments module can be opened by selecting the Assignments icon from the Global Toolbar.
![]()
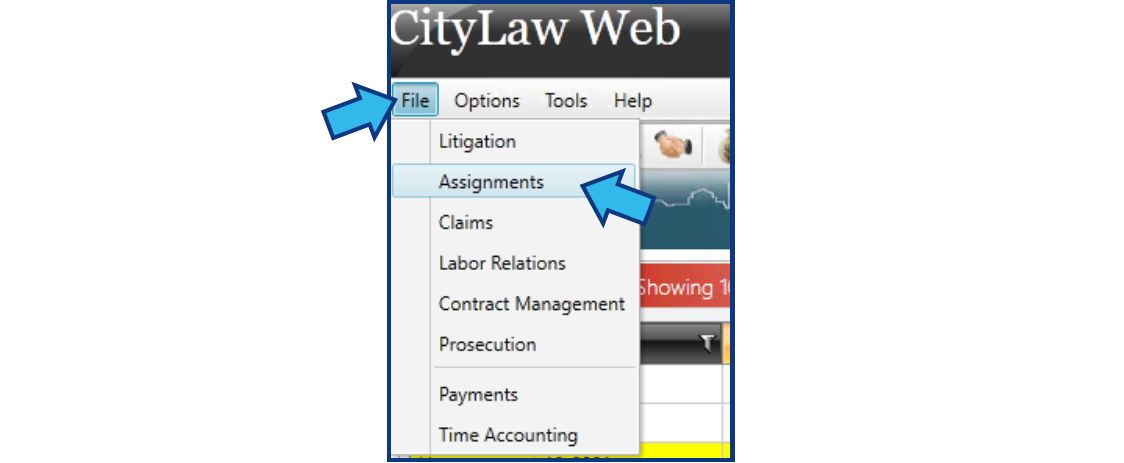
It can also be opened by selecting File from the Menu Bar and then selecting Assignments from the list of options.
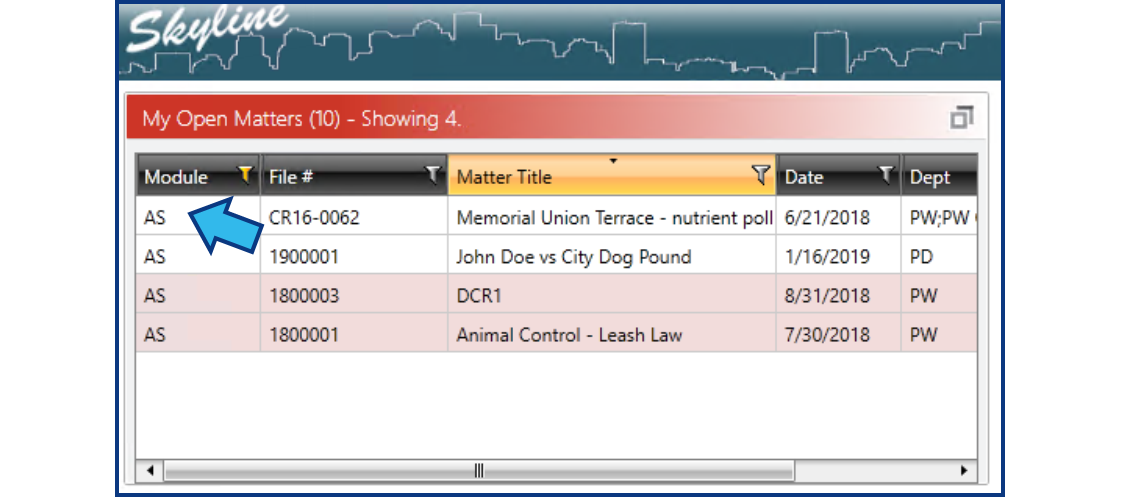
Finally, it can be opened by opening an Assignments matter. For example, if an Assignments matter is in the My Open Matters display in the Skyline view, then double-clicking on that matter will open the Assignments module.
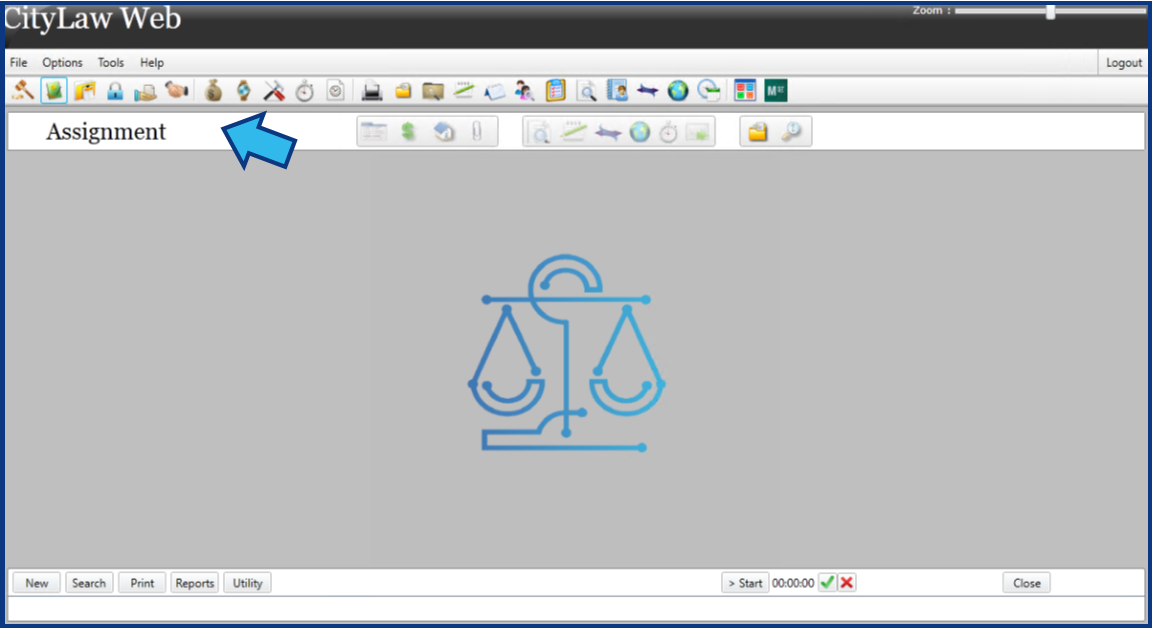
You will know you are in the Assignments module when you see the Assignments header.
Create a New Assignments Matter
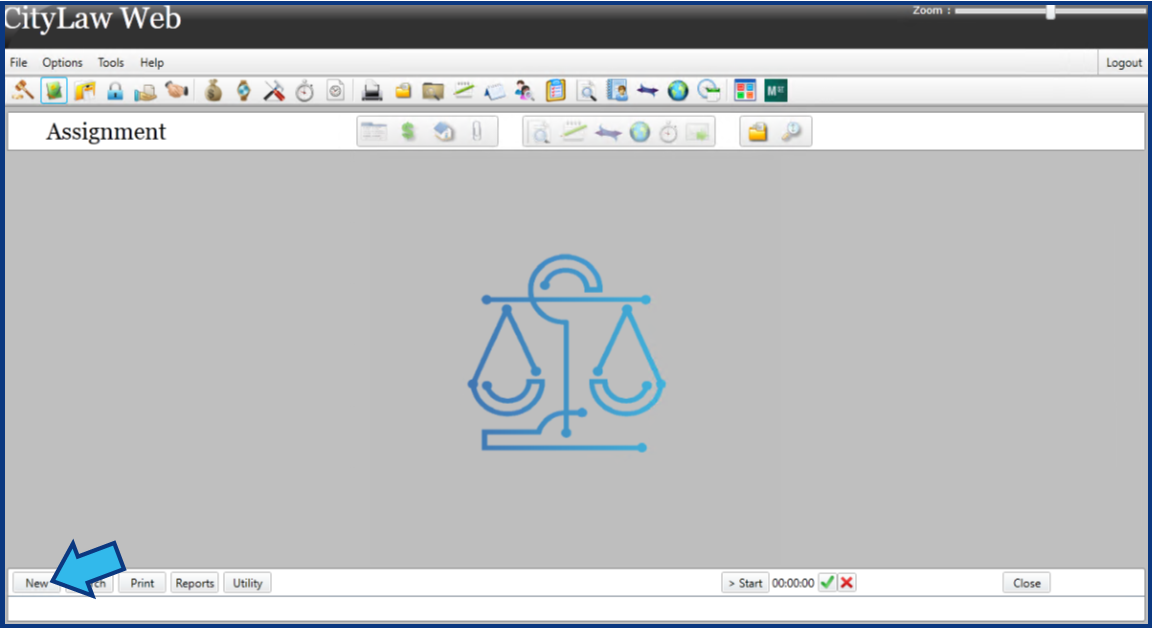
To create a new Assignments matter, open the Assignments module and select the New button on the action bar at the bottom.
You will be prompted to create a new File Number. Select the Auto button to have this number automatically assigned with the next available number.

Enter the matter information into the New Assignment Entry window. Note that mandatory fields are marked with an asterisk.
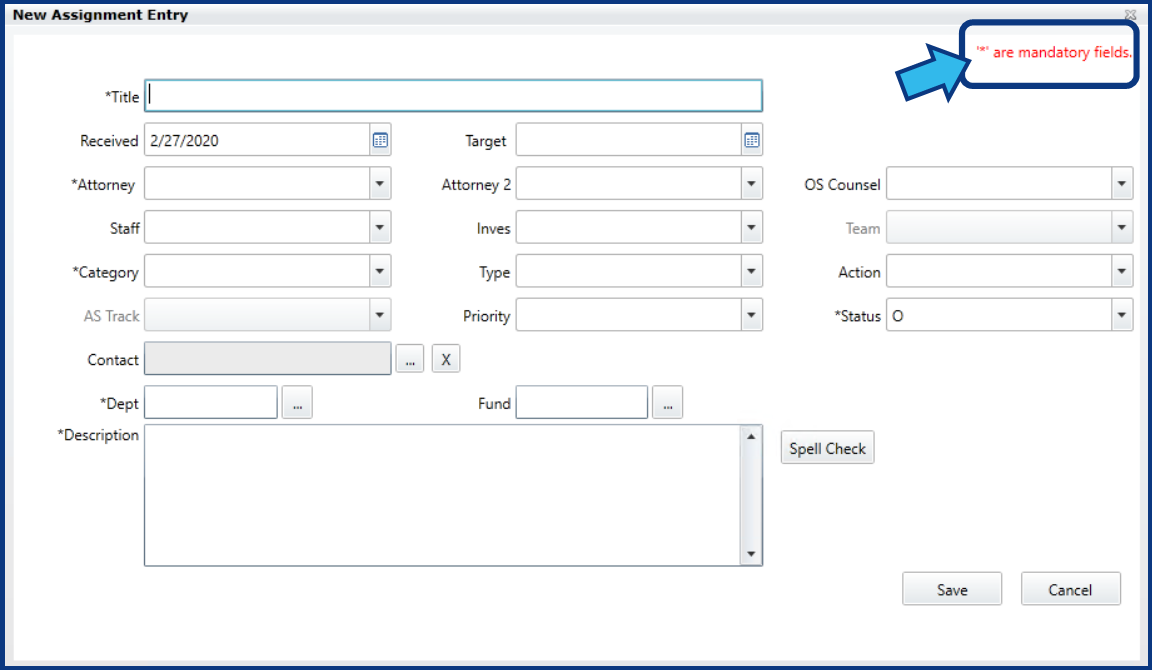
Once you've entered the data into the fields, select the Save button in the lower right corner.

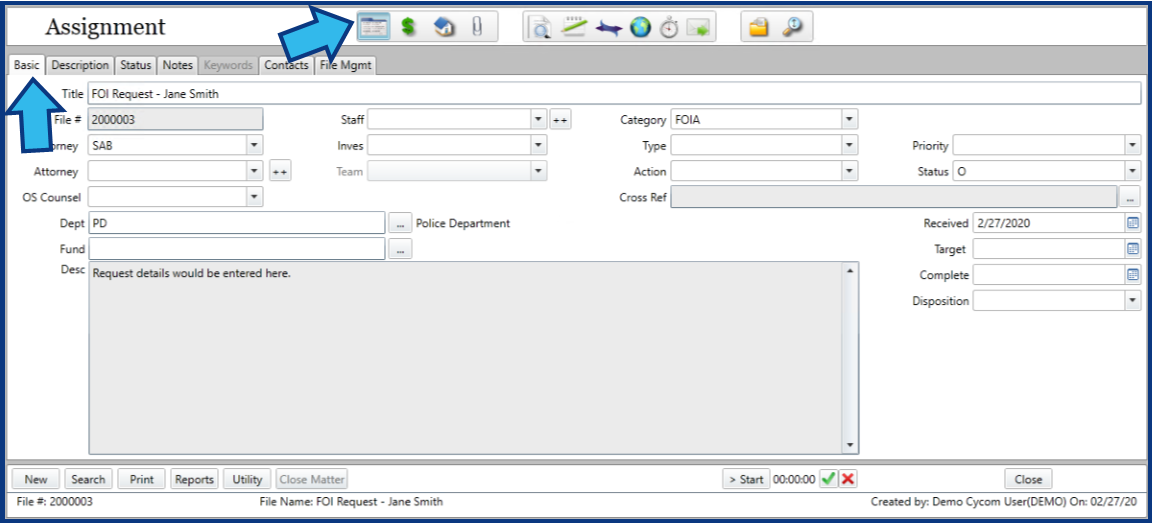
Your new matter will open. By default, it will display the Basic tab of the Basic Matter Data view.
Find an Assignments Matter
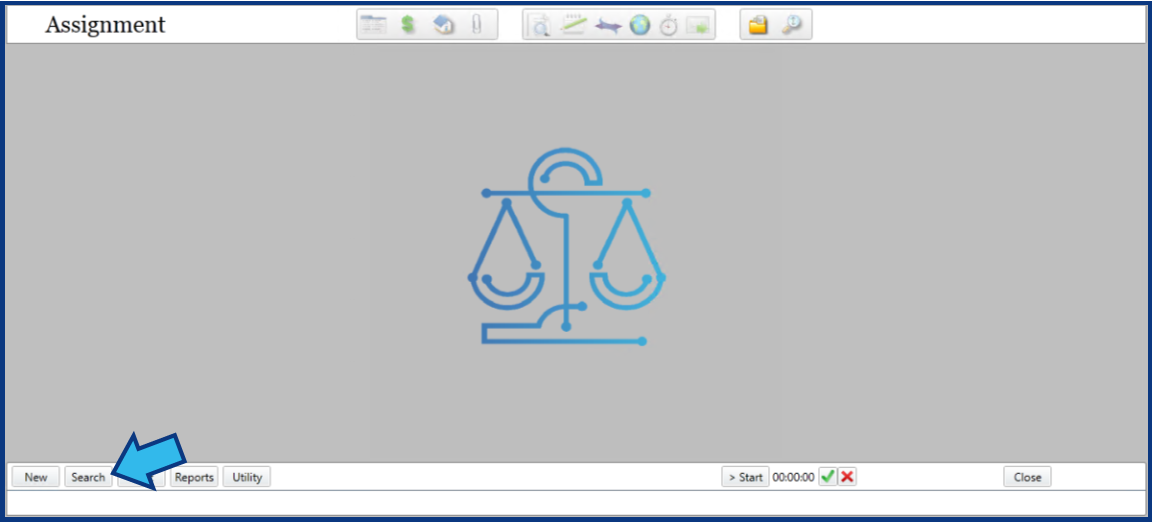
To find an Assignments matter, first open the Assignments module. Then select the Search button from the action bar on the bottom.
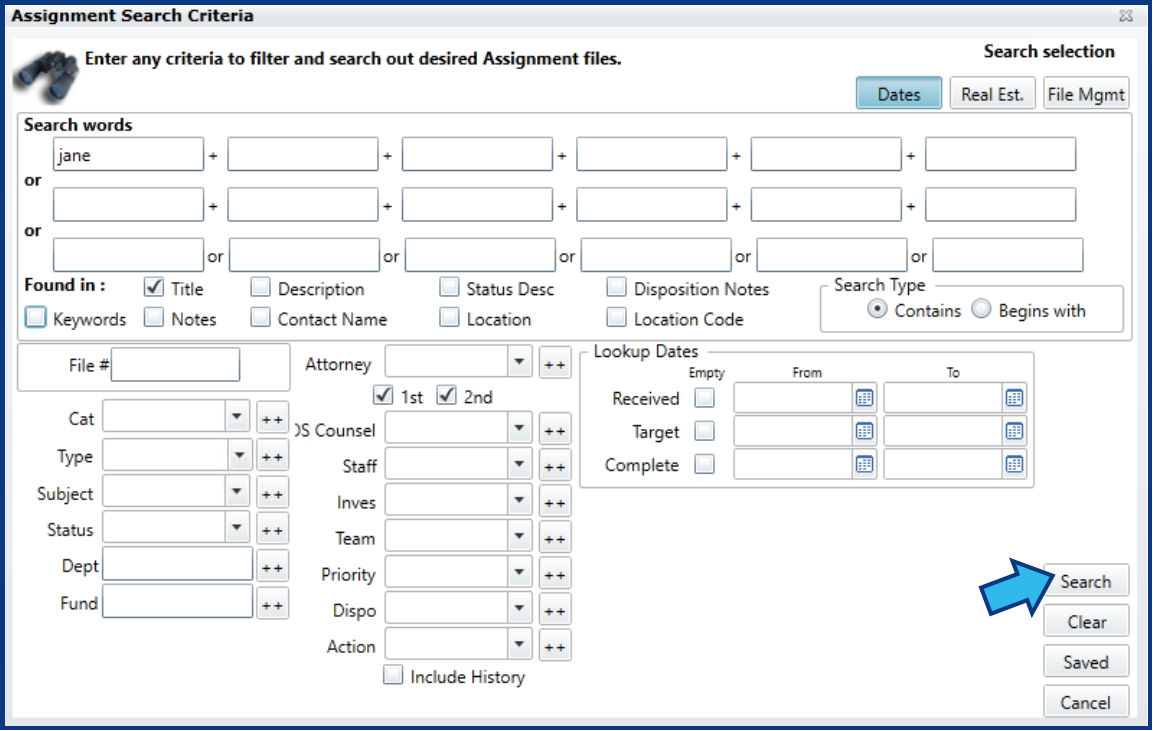
A Search Criteria window will appear allowing you to enter or select options to filter your search. Enter any information you know to locate the matter. Select Search to return the results.
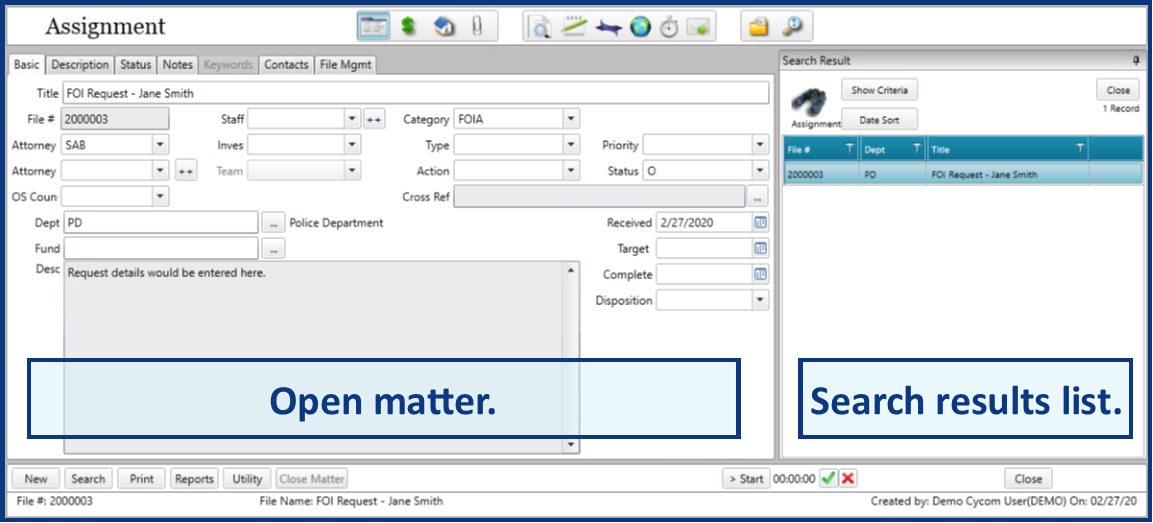
Assuming your selected Search Criteria finds at least one match, a Search Result window will appear on the right side of the Assignments module and a matter from this list will be displayed on the left side. Selecting a matter from this list will open that matter on the left side.
Close an Assignments Matter
When we speak of closing a matter, this refers to two different tasks. The first refers to closing a matter because you are finished with your edits, research, or additions. The second refers to changing the matter status to closed, such as when a matter is disposed.
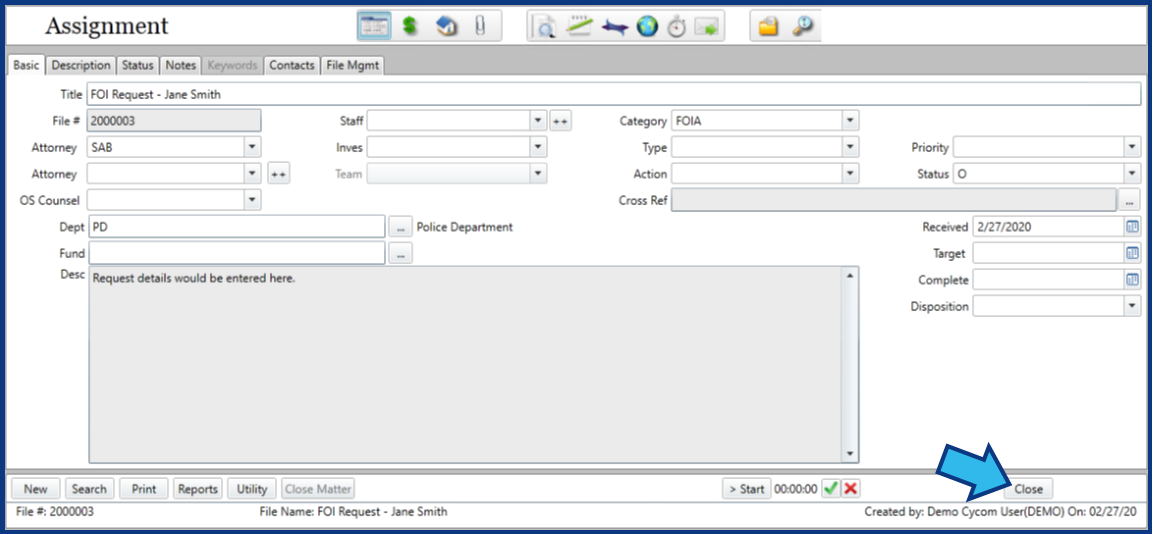
To close an Assignments matter to continue with other work, you can simply open another Assignments matter. Or you can also close the Assignments module using the Close button in the bottom right corner.
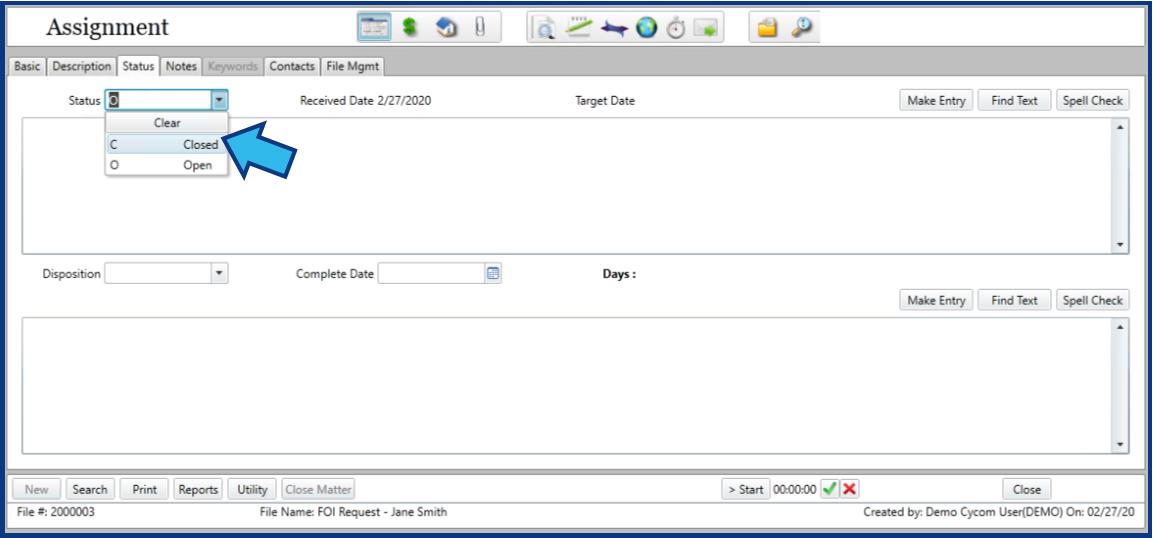
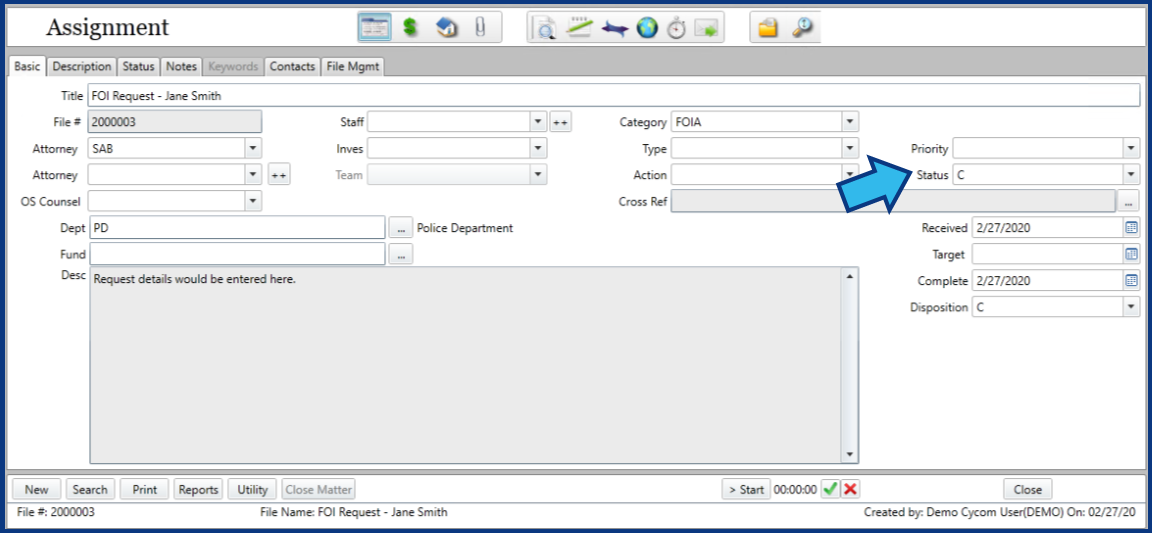
To dispose an Assignments matter, select the Status tab in the Basic Matter Data view.
You can dispose an Assignment while also setting the matter's status to a closed type. To dispose an Assignment in this way, select a closed status type in the Status field. You might only have one closed status named Closed. Or you might have multiple closed statuses to choose from.
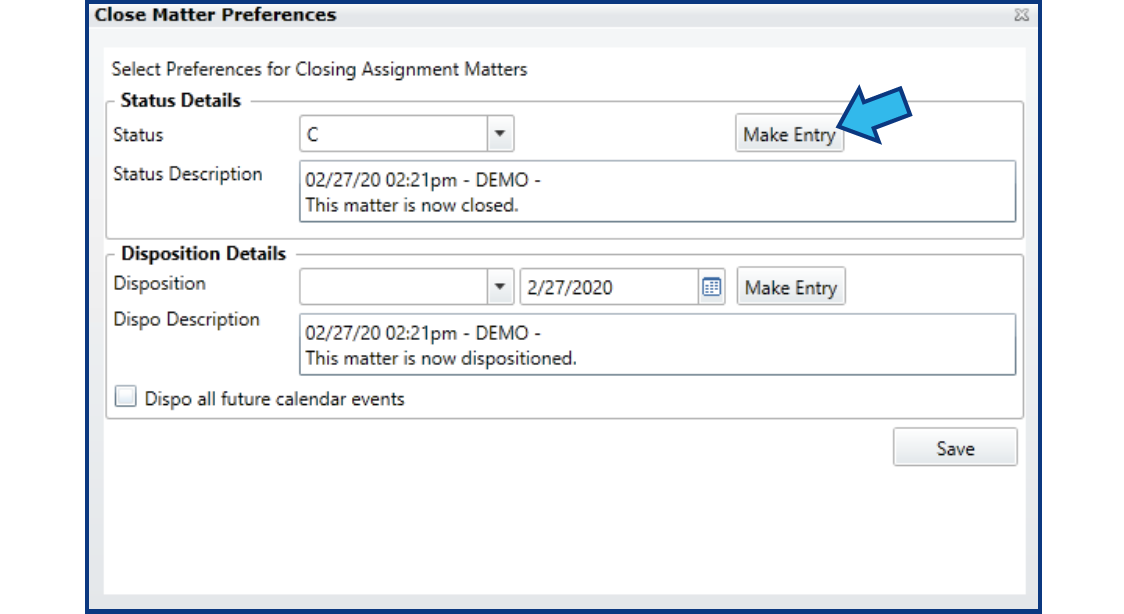
On selecting any closed type status, a Close Matter Preferences window will appear. By default, the Status will be marked with the closed status you chose, and the Status Description may be populated with a message. Select Make Entry to add any additional closing status text desired. (NOTE: You can enter or edit text directly in the Status Description box, but CLW Best Practices encourage using the Make Entry button.)
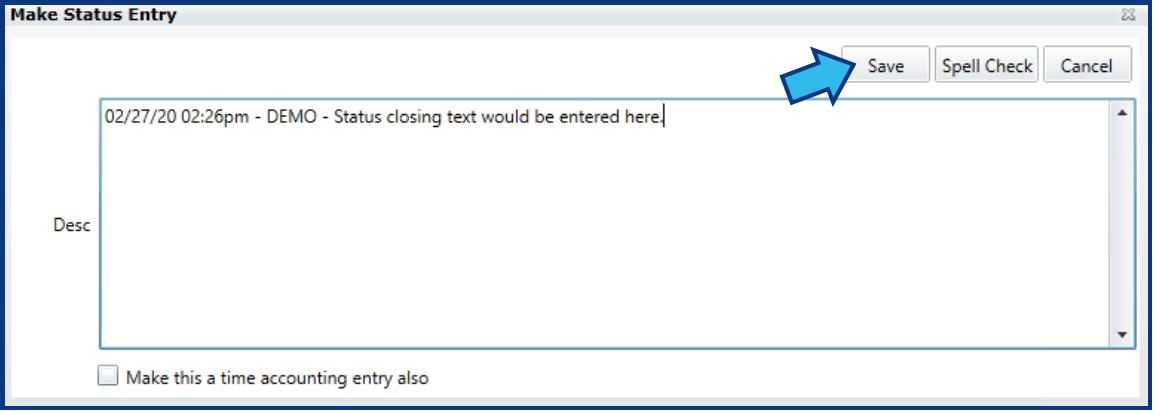
A Make Status Entry window appears. Today's date, time, and the User ID (typically the user's initials) are filled in. Enter any additional status closing text. Select Save.
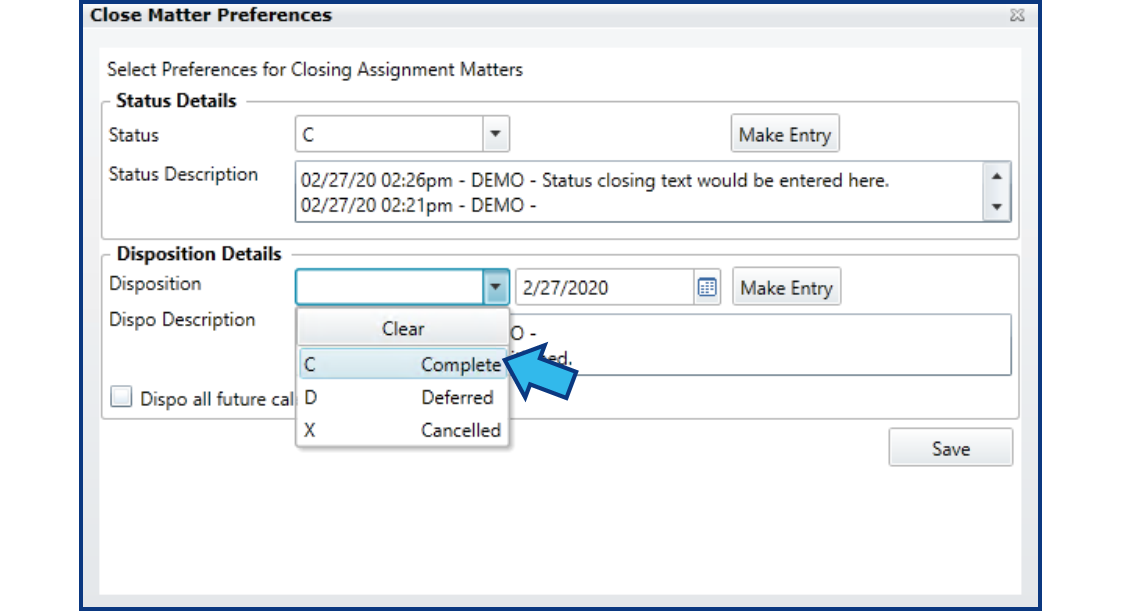
Select a Disposition type from the drop-down.
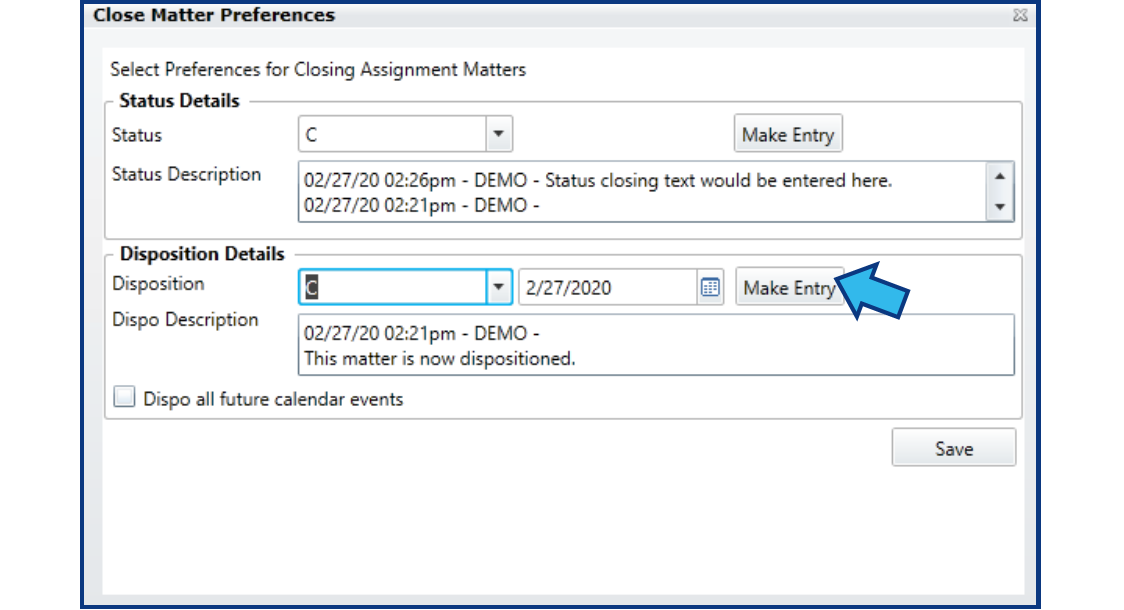
The Disposition Date will show today's date, and the Dispo Description may be populated with a message. Select Make Entry to add any additional closing dispo text desired. (NOTE: You can enter or edit text directly in the Dispo Description box, but CLW Best Practices encourage using the Make Entry button.)
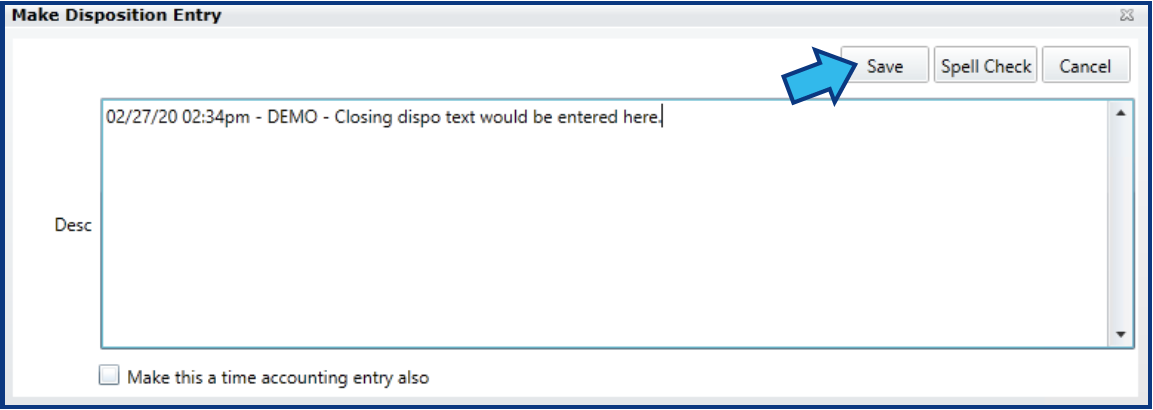
A Make Disposition Entry window appears. Today's date, time, and the User ID (typically the user's initials) are filled in. Enter any information regarding the disposition of the matter. Select Save.
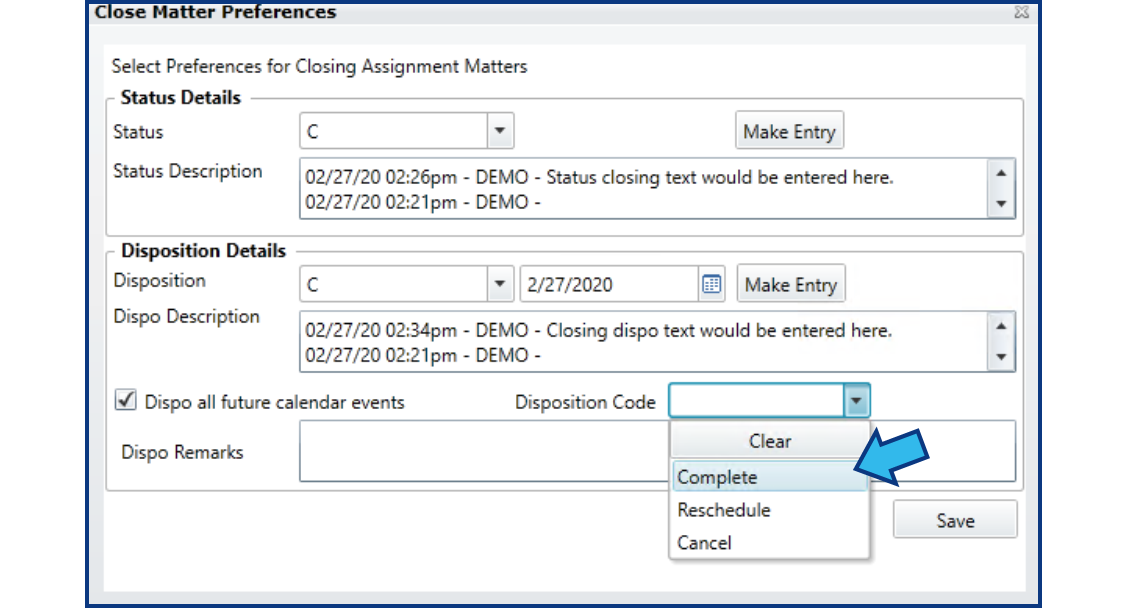
If you wish for all future calendar events that may remain on the matter to be disposed, make sure a check is placed in the box Dispo all future calendar events. On checking this box, a Disposition Code and Dispo Remarks field appears.

Select a Disposition Code from the drop-down.
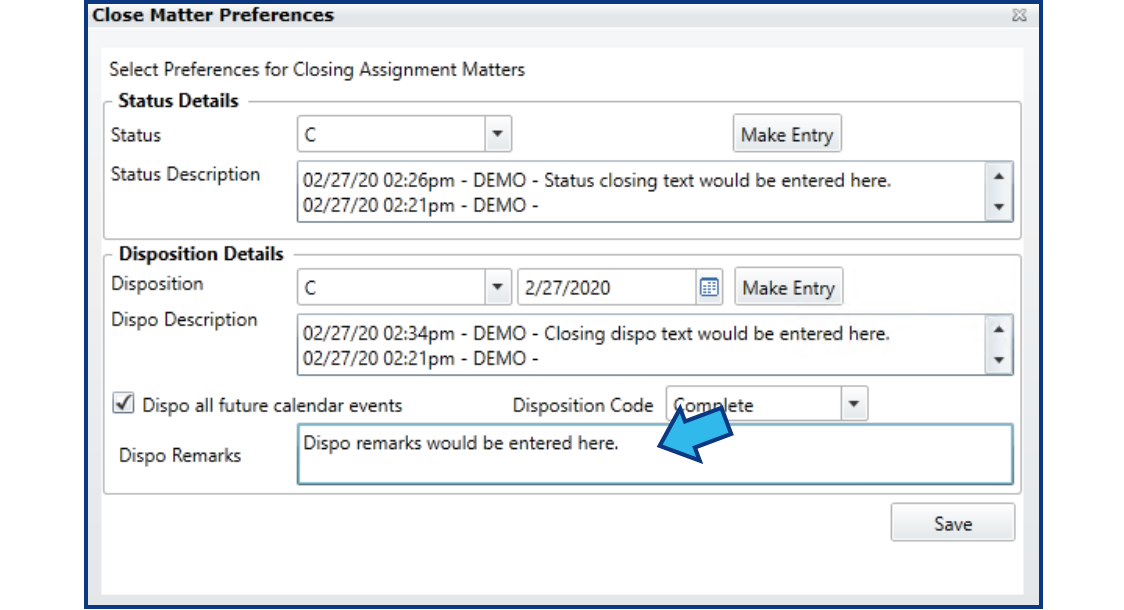
Enter any Dispo Remarks.
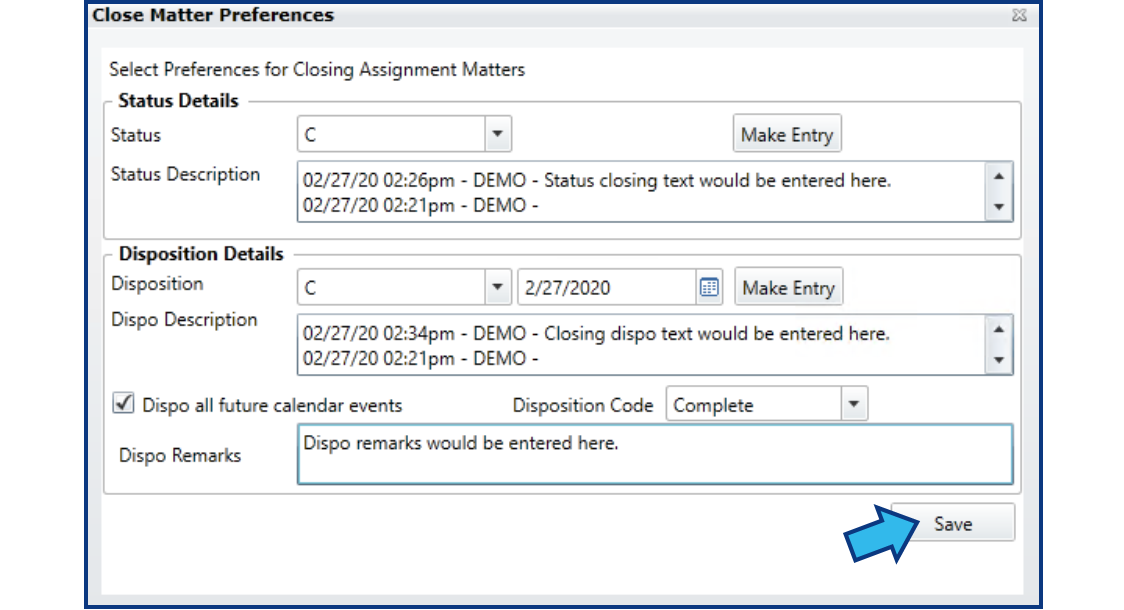
Select Save.
Now your matter status is set to Closed and will no longer appear in Searches or Reports limited to Open Matters. It will remain searchable and will remain in reports referencing Closed Matters.
Assignments Report Options
Print Customized Assignments Reports
Customized reports can be created by first executing a Search to find the Assignments matters you want to include. Once at least 1 matter is displayed in the Search Result pane, select the Print button in the action bar at the bottom.
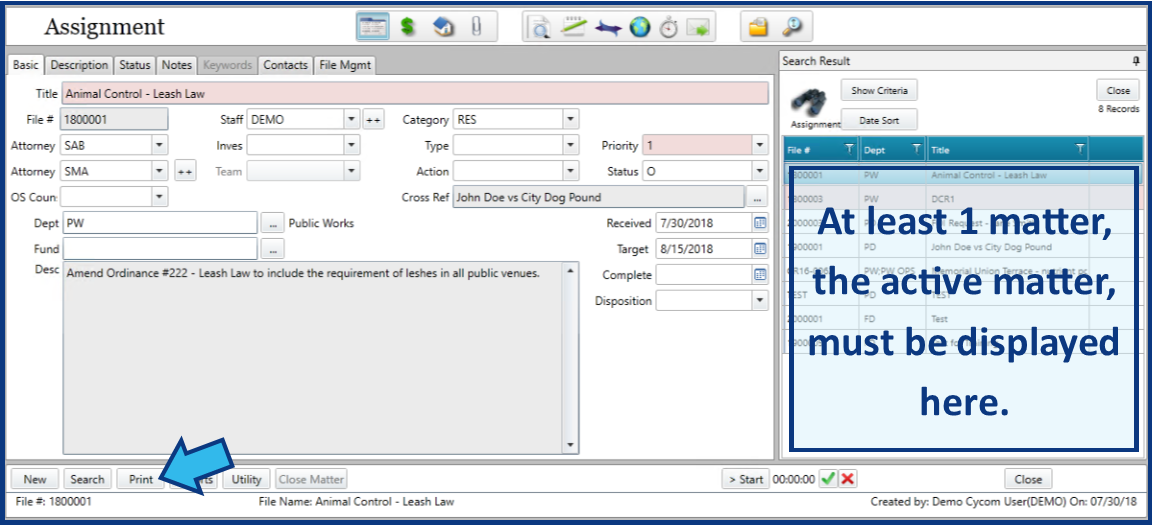
If you want to create a report for only the active matter, be sure to check the box for Selected matter only. If this box is unchecked, any report will include all the matters listed in the Search Results.
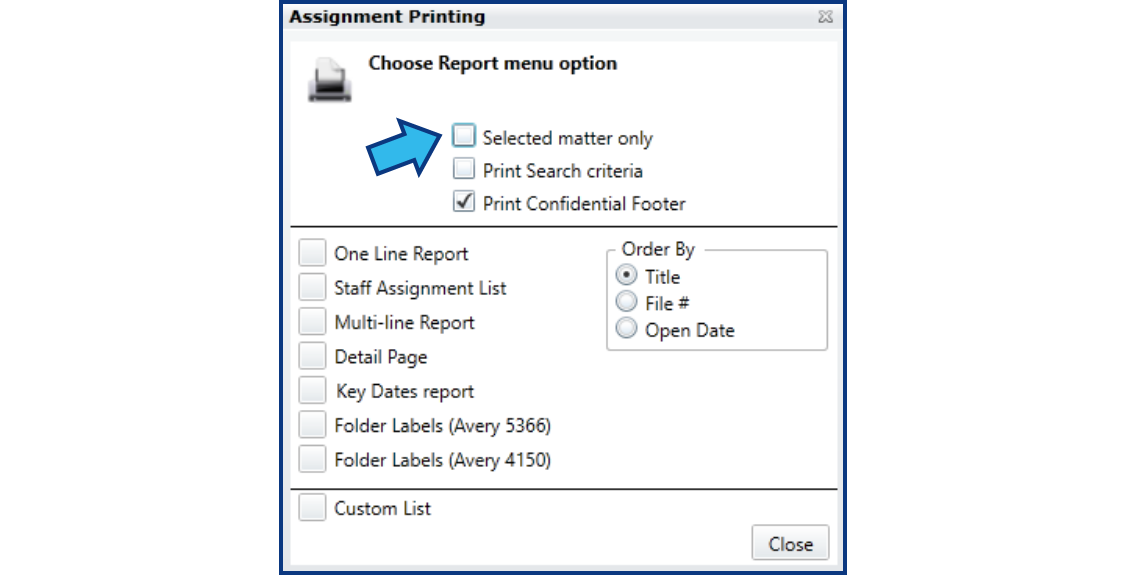
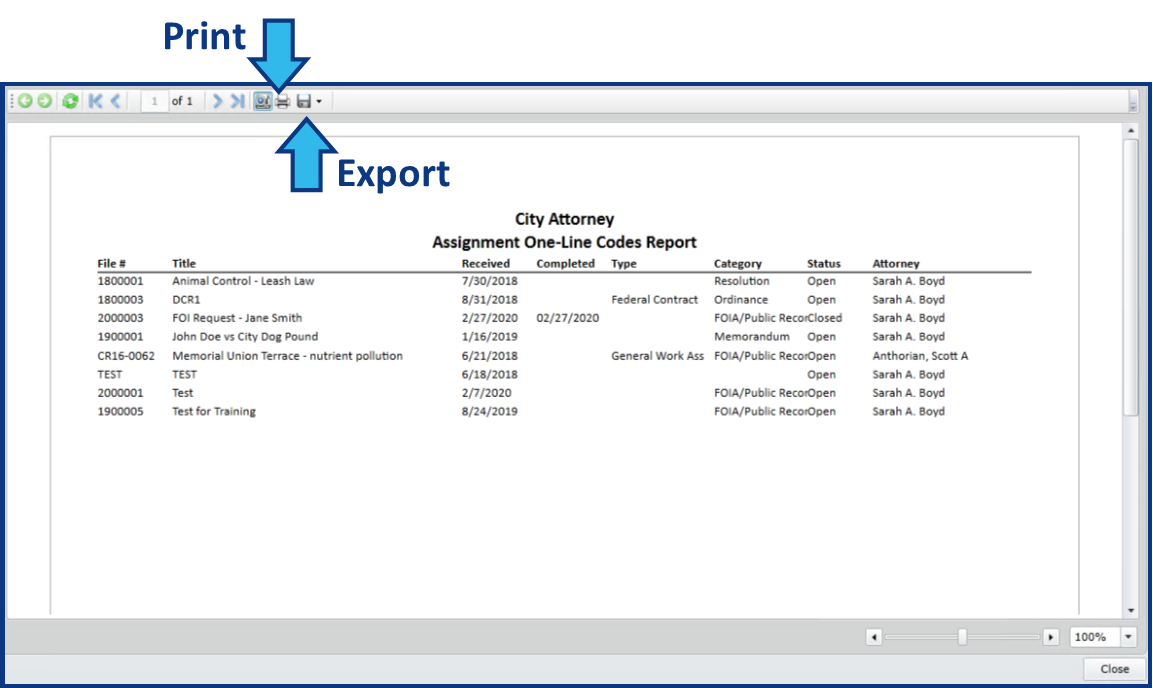
Select the type of report you'd like to generate. Some reports allow additional options and you will be prompted to make your selections. Your report will be displayed with options to print or export.
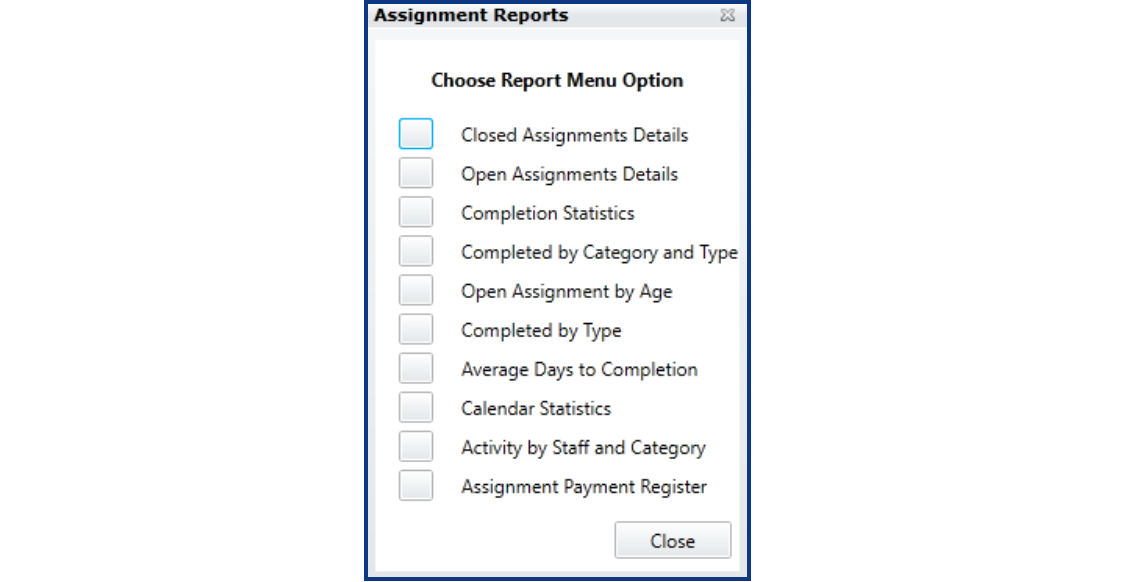
Create Built-in Assignments Reports
There are several built-in Assignments reports to choose from. To access these reports, select the Reports button from the action bar at the bottom.
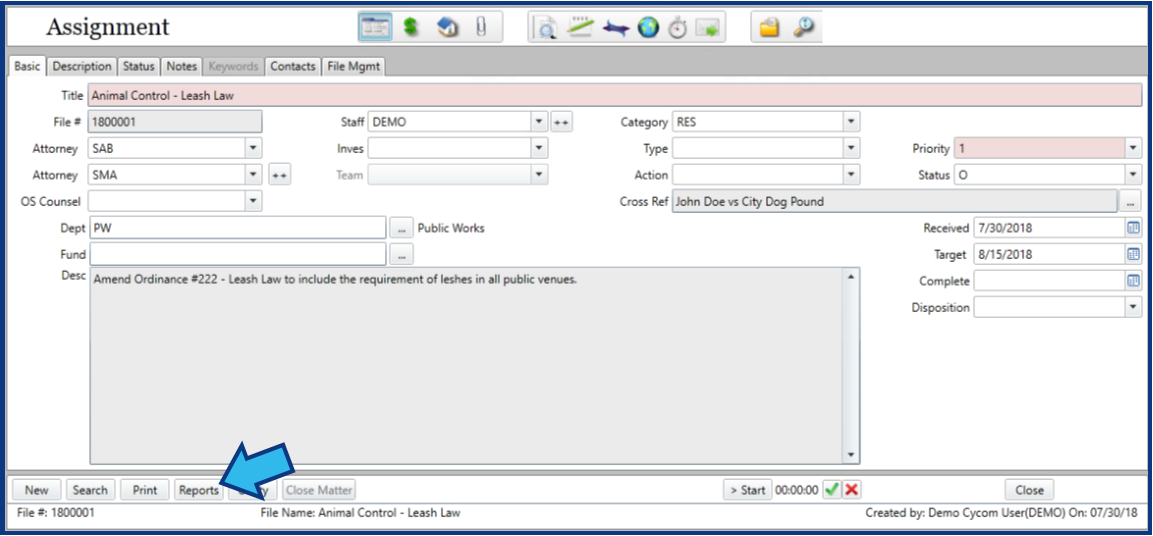
The Assignments Reports will appear. Select the report you wish to view. Some reports allow additional options and you will be prompted to make your selections. Your report will be displayed once you have made your selections.
Assignments Basic Matter Data Fields
Basic Tab
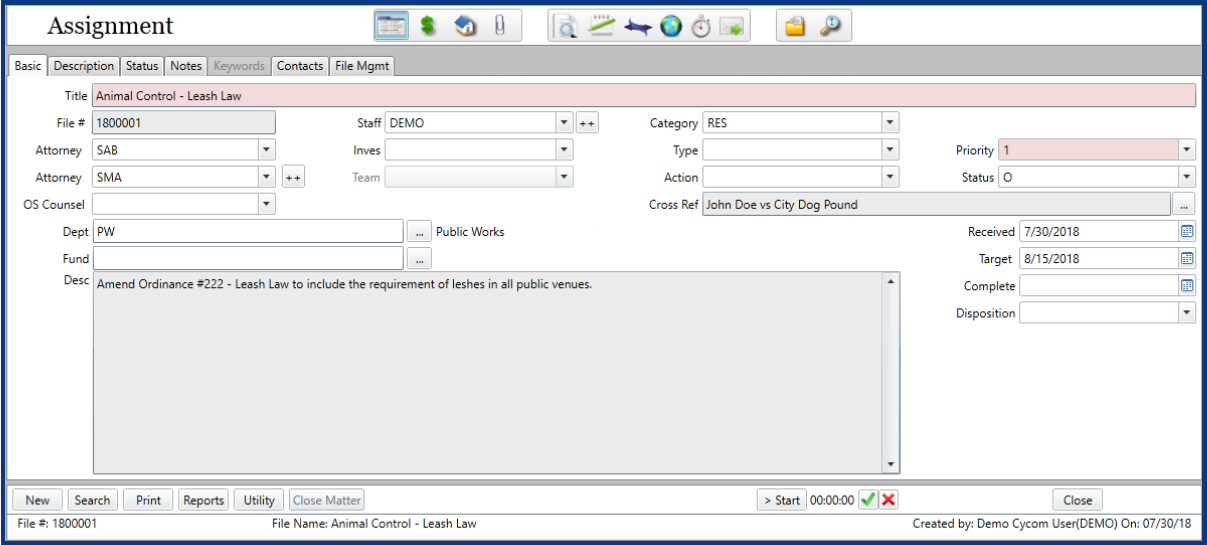
Title
A descriptive title for the matter.
File #
The CLW Assignments matter File Number. This will be auto-generated upon selecting Auto when creating a new Assignments matter.
Attorney
The lead attorney on the matter.
Attorney 2
Additional attorneys on the matter. (NOTE: CLW limits the number of second attorneys to 4)
OS Counsel
Outside counsel assigned to this matter.
Department
The department represents the entity to whom the services of the Assignment are being rendered.
Fund
The funding source for this matter.
Description
A text field to enter a description of the matter.
Staff
Any staff assigned to assist with this matter.
Investigator
The investigator assigned to this matter.
Team
If your office divides work assignments by team, the assigned team for this matter is selected for this field.
Category
Category codes separate Assignments matters into classifications relevant to your office. Some examples of categories are FOIA Requests, Memorandums, and Opinions.
Type
Each category code has a subset of type codes. Some examples of type codes are Procurement, Licensing, Civil Rights, Personnel, and Zoning.
Action
The next action needed on the matter is selected for this field.
Cross Reference
A list of other matters that should be referenced to the current matter.
Priority
The priority of the matter is entered in this field. Priority determines the color coding applied to the matter in search results.
Status
The current state of the matter. Status codes are classified as either open or closed types and these are used in searches and reports to limit selections to those types. One common observance of this in practice is the user's My Open Matters list in Skyline or Main Street view.
Received Date
The date the matter was received.
Target Date
The target completion date for the matter.
Complete Date
The date the matter was completed.
Disposition
The manner in which the matter was disposed is entered in this field.
Description Tab
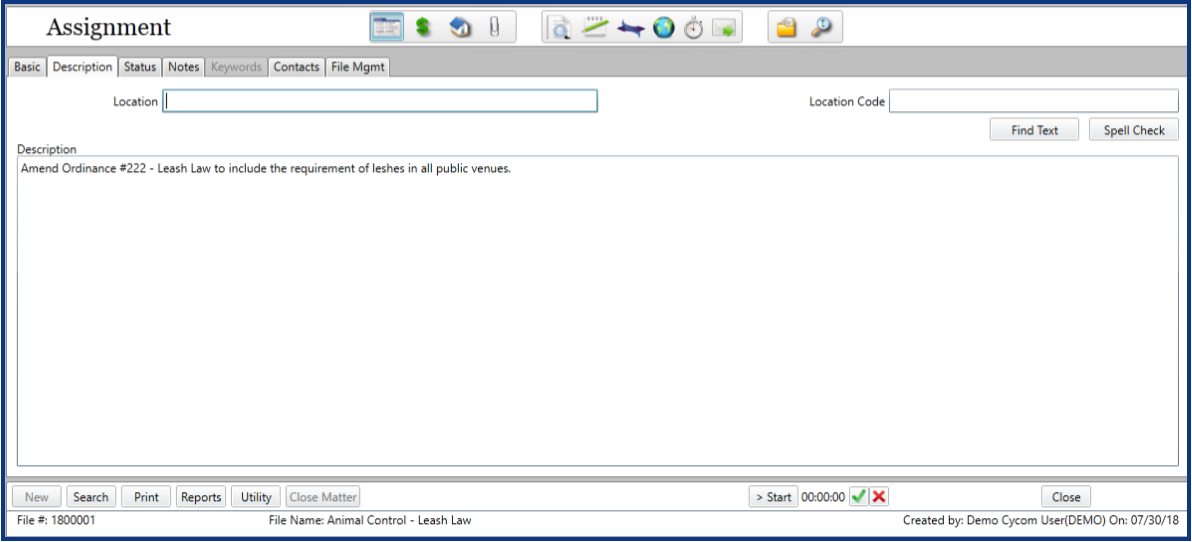
Location
This field may be used to note the location of the incident or the location of matter files. Check with your System Administrator or Office Manager to confirm how your site uses this field.
Location Code
The location code for this matter.
Find Text
An action button that opens a text search tool.
Spell Check
An action button that opens a spell-checking tool.
Description
An unlimited text field to enter the matter description and/or any additional details of the matter. The description contents are also displayed on the Basic tab, but must be edited through the Description tab.
Status Tab
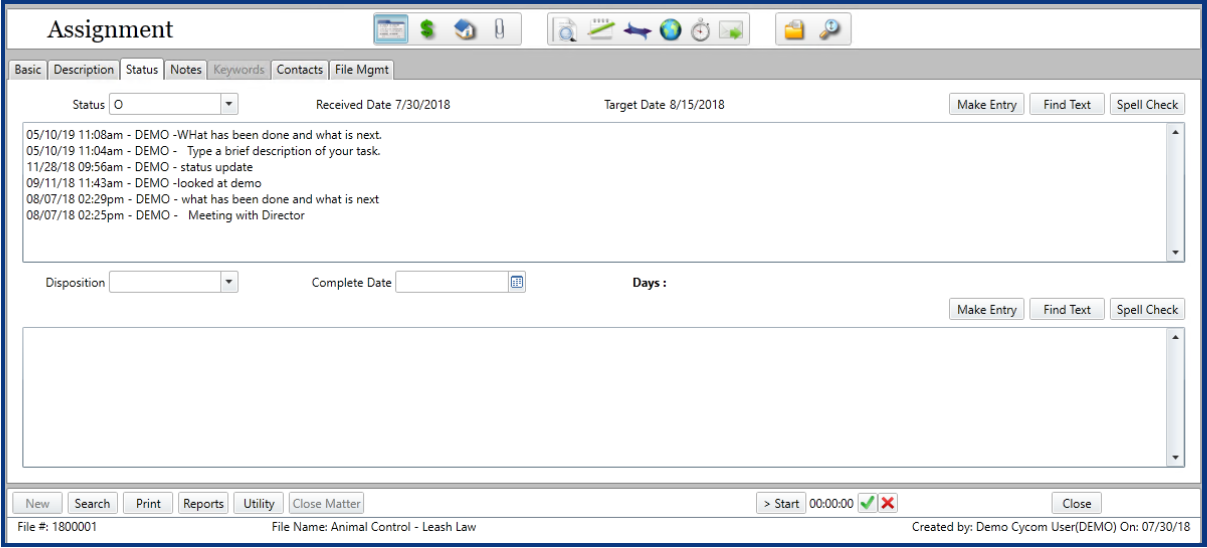
Status
The matter's current status is entered in this field. Status types are either open or closed. Entering a closed type status will open a Close Matter Preferences window to allow you to enter Disposition information.
Make Entry
An action button that opens the Make Status Entry window.
Find Text
An action button that opens a text search tool.
Spell Check
An action button that opens a spell-checking tool.
Status Description
All status entries will be listed in this field. (NOTE: You can enter or edit text directly in the Status Description box, but CLW Best Practices encourage using the Make Entry button.)
Disposition
The matter's disposition type is entered in this field.
Complete Date
The date the matter was disposed.
Make Entry
An action button that opens the Make Disposition Entry window.
Find Text
An action button that opens a text search tool.
Spell Check
An action button that opens a spell-checking tool.
Disposition Description
All disposition entries will be listed in this field. (NOTE: You can enter or edit text directly in the Disposition Description box, but CLW Best Practices encourage using the Make Entry button.)
Notes Tab
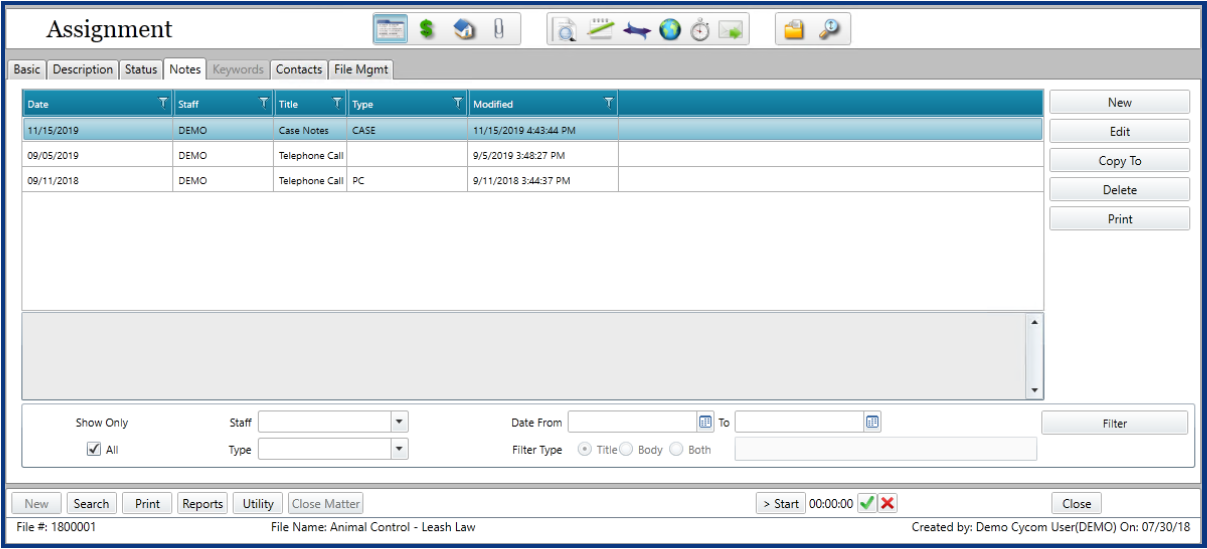
The Notes tab displays a list of notes that can be sorted using the list column headings and filtered using the filter options. A gray box at the bottom shows a preview of the highlighted note in the list above.
New
An action button that opens the Memo Field Description tool to create a new note.
Edit
An action button that opens the Memo Field Description tool to edit a note.
Copy To
An action button that opens the Select Matter tool to select a matter to which to copy the selected note. The original and copied note will exist separately in the database. Edits to one will not affect the other.
Delete
An action button that deletes the selected note.
An action button that creates a report listing all the notes in the notes list. The report can be printed or exported.
Show Only All
Checking this box shows all the notes. Uncheck this box if you'd like to filter the list using any of the parameters provided.
Staff
Filter the notes to show only those created by a specific staff person.
Type
Filter the notes to show only those of a specific type.
Date From/To
Filter the notes according to a specific date range.
Filter Type
Radio buttons to select to filter the notes by Title, Body, or Both. The text field to the right of the buttons is used to enter the filter terms.
Filter
An action button to filter the note list according to the parameters selected or entered. NOTE: To filter the notes list, uncheck the Show Only All box.
Keywords Tab
The Keywords tab displays a list of keywords. The use of keywords is no longer needed because of the full text search capabilities in CLW. Because of this your keywords tab may be inactive or missing. CLW Best Practices discourages using keywords, and instead encourages attention to proper spelling in all documents and text fields. All unlimited text fields in CLW have a Spell Check button for this purpose.
Contacts Tab
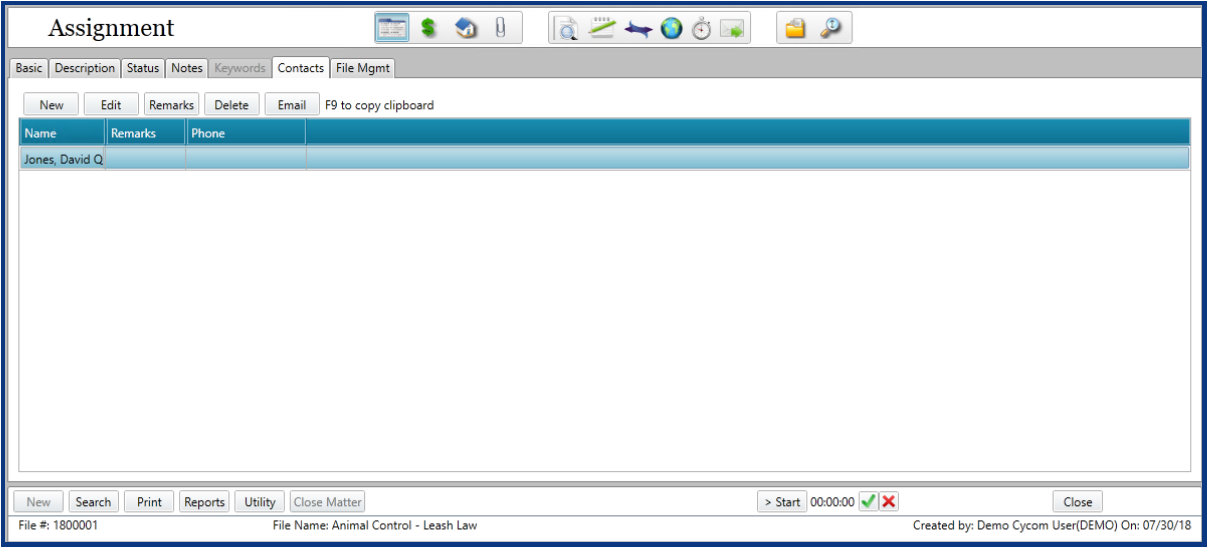
New
An action button that opens the Find a Person tool to create a new contact.
Edit
An action button that opens the Edit Party tool to edit a contact.
Remarks
An action button that opens the Remarks tool to add a remark.
Delete
An action button that deletes the selected note.
An action button that opens an email draft populated with the contact's email address, if one is included in the person's contact record.
File Management Tab
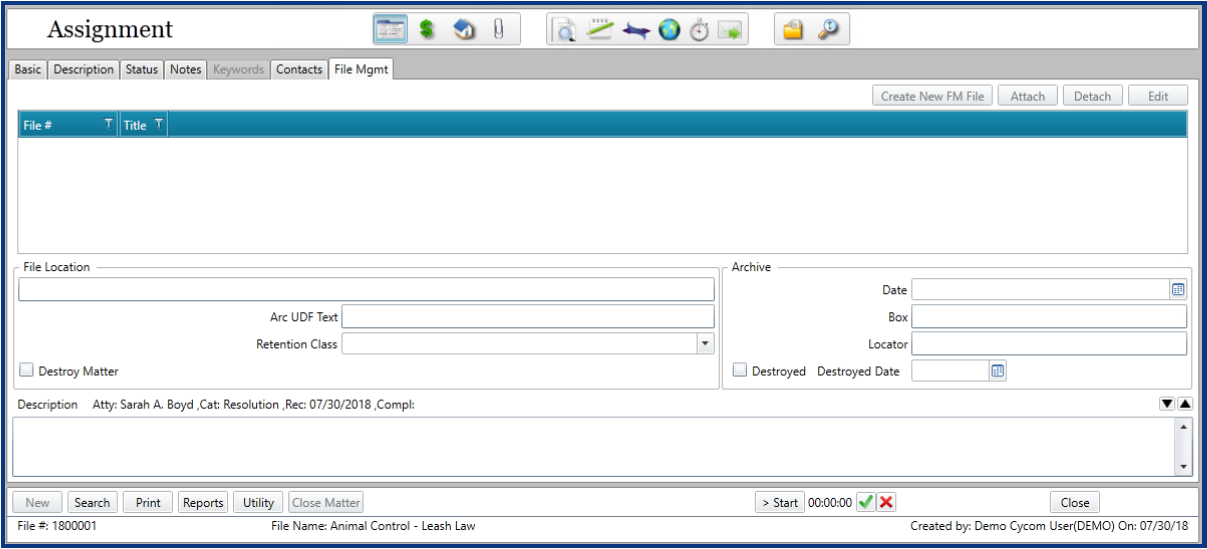
The File Management tab has fields to enter file storage, archival, and destruction information. There are 4 buttons at the top right named Create New FM File, Attach, Detach, and Edit. These allow you to create a file management file (available if you have the File Management module), and to attach or detach additional matters to this matter.
Comments
0 comments
Please sign in to leave a comment.