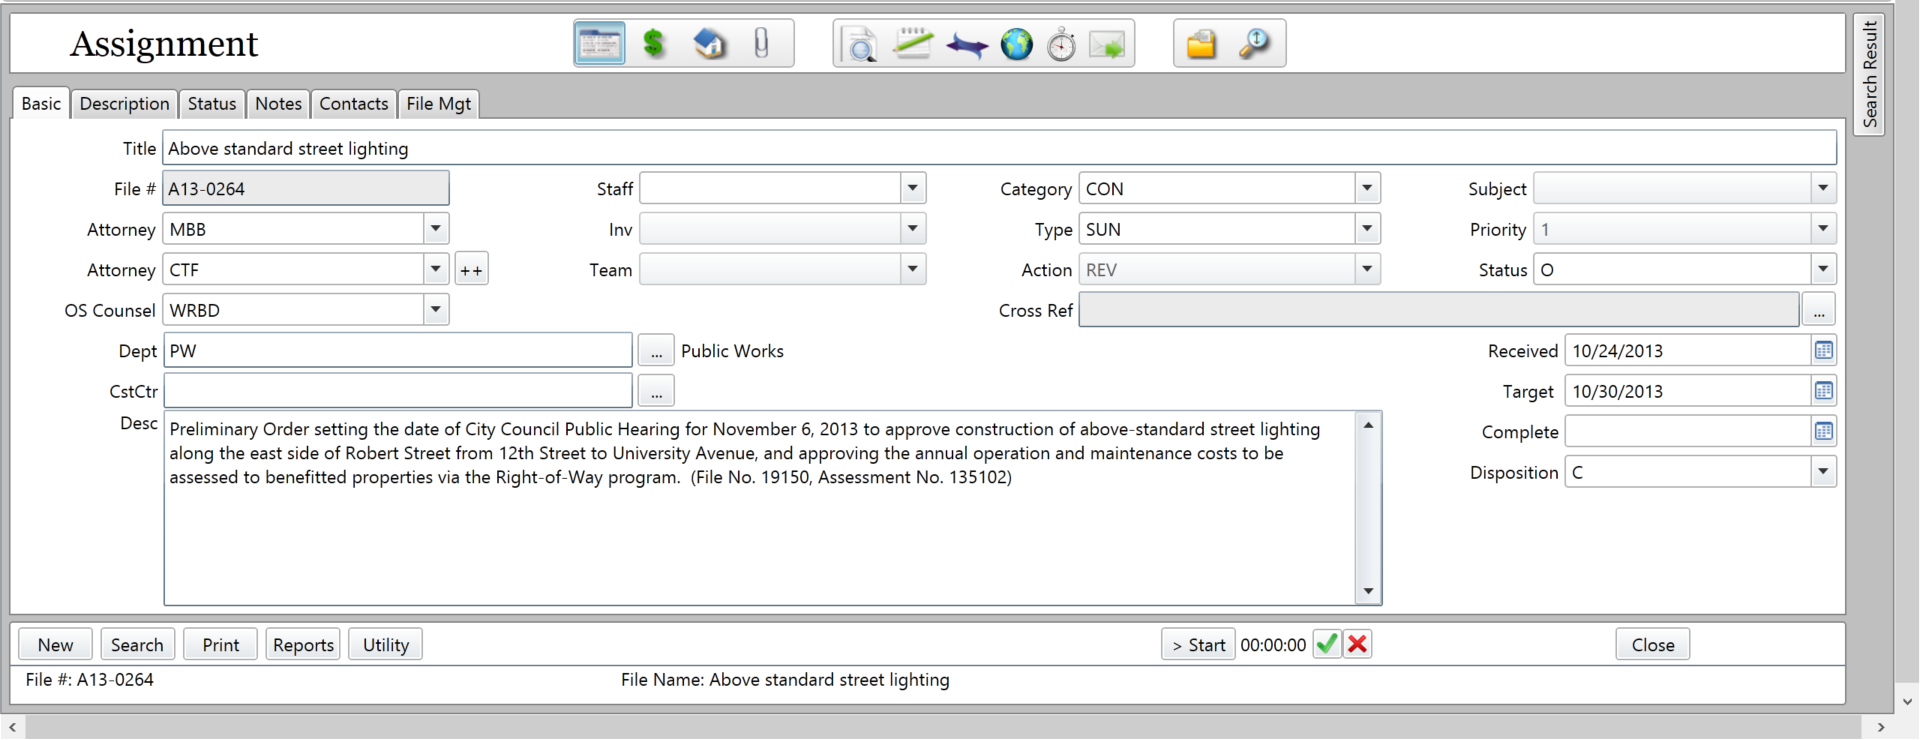
Basic Tab
The Basic Tab displays all the codes and personnel assigned to the matter. The Title, File Number (or Case Number), and Description are also visible here.
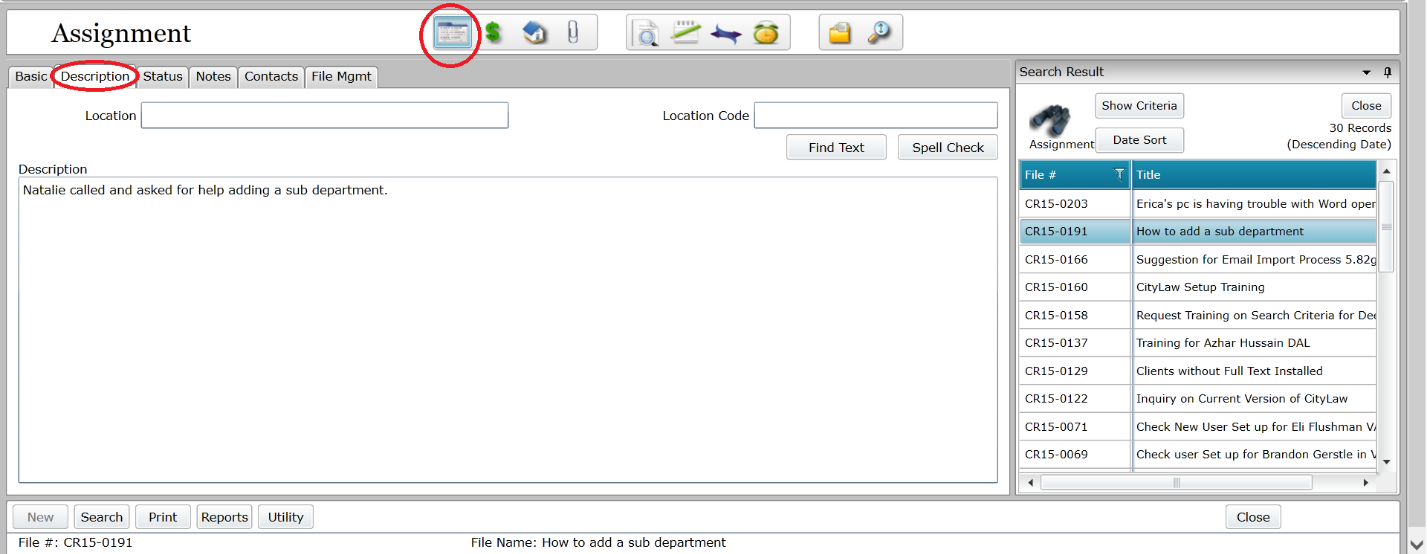
Description Tab
In addition to the Description text of the Assignment matter, the Description Tab also contains the Location (or Address) and Location Code fields.
Location and Address Entry
This field is for assignments related to Real Estate issues, such as Deeds, Eminent Domain, Condemnation, etc. Property addresses are to be entered here. Be consistent with address abbreviations formats (e.g. “Ave” versus “Avenue”, “Rd” versus “Road”, etc.) as this will affect search results.
Best Practice: Use abbreviations without an ending period. For example:
| Use: | In place of: |
| Apt | Apartment |
| Ave | Avenue |
| Bvld | Boulevard |
| Dr | Drive |
| Hwy | Highway |
| Rd | Road |
| St | Street |
| Ste | Suite |
| N, S, E, W | North, South, East, West |
Location Code
The is for Tax Map Numbers, APNs, and the like. This is not a required field.
Description Text
The Description text appears on the Basic Tab as well. Press the Spell Check button to check the spelling of the text in this field. Press the Find Text button to search for text in this field.
Status Tab
The Status Tab contains a log of text entries designed for tracking activity on the matter.
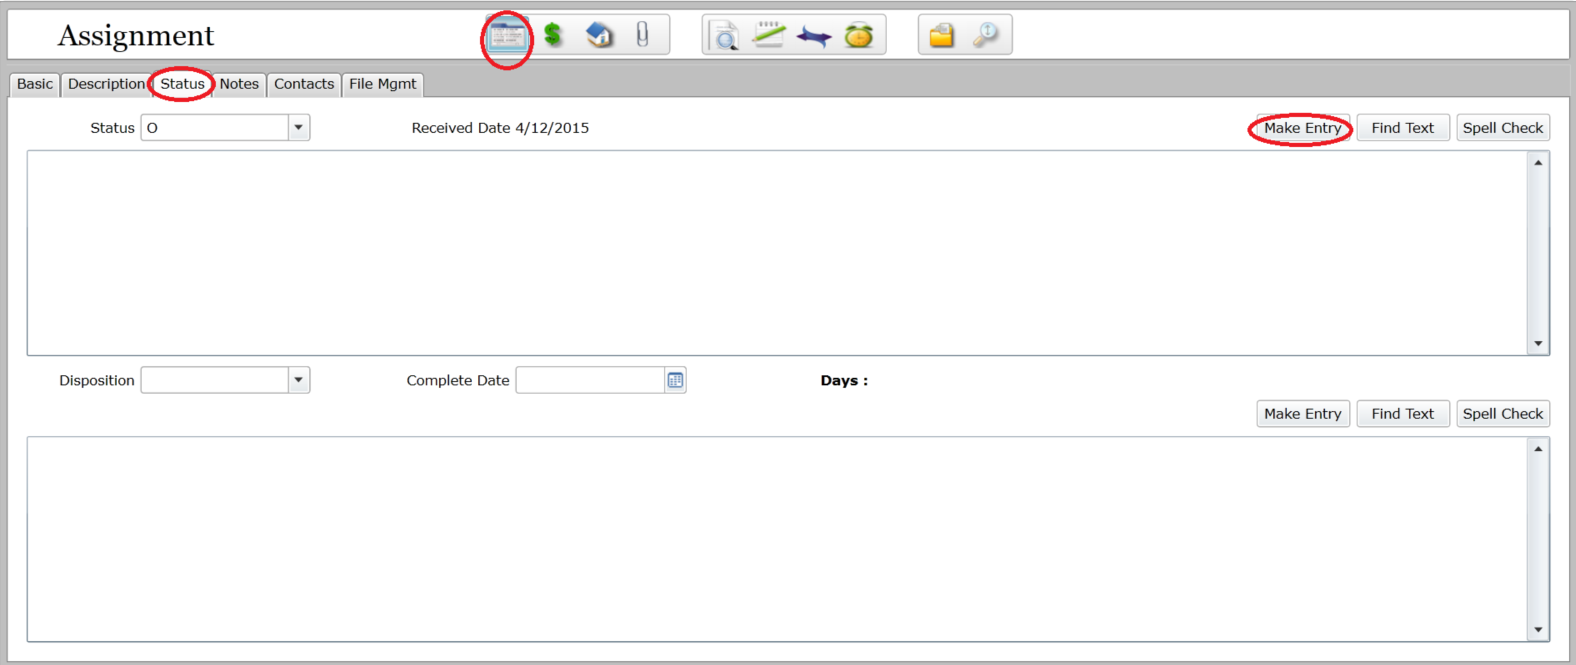
Status Section
The top section of the Status tab is the Status Section. From here you may do the following.
- Change the Status Code of the matter
- View its Received Date and Target Date, if applicable
- Perform a Spell Check
- Find Text in the Status entries
- Make a new Status Entry.

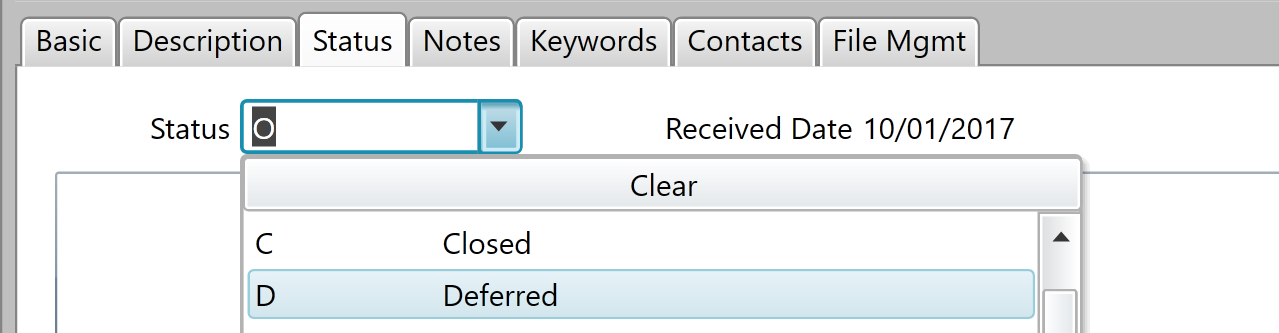
Status Code
In our example, the Status Code is set to “O” for “Open”. Press the dropdown arrow to change the Status Code.
Status Entry
Press the Make Entry button to create a Status entry. The Make Entry window will appear.
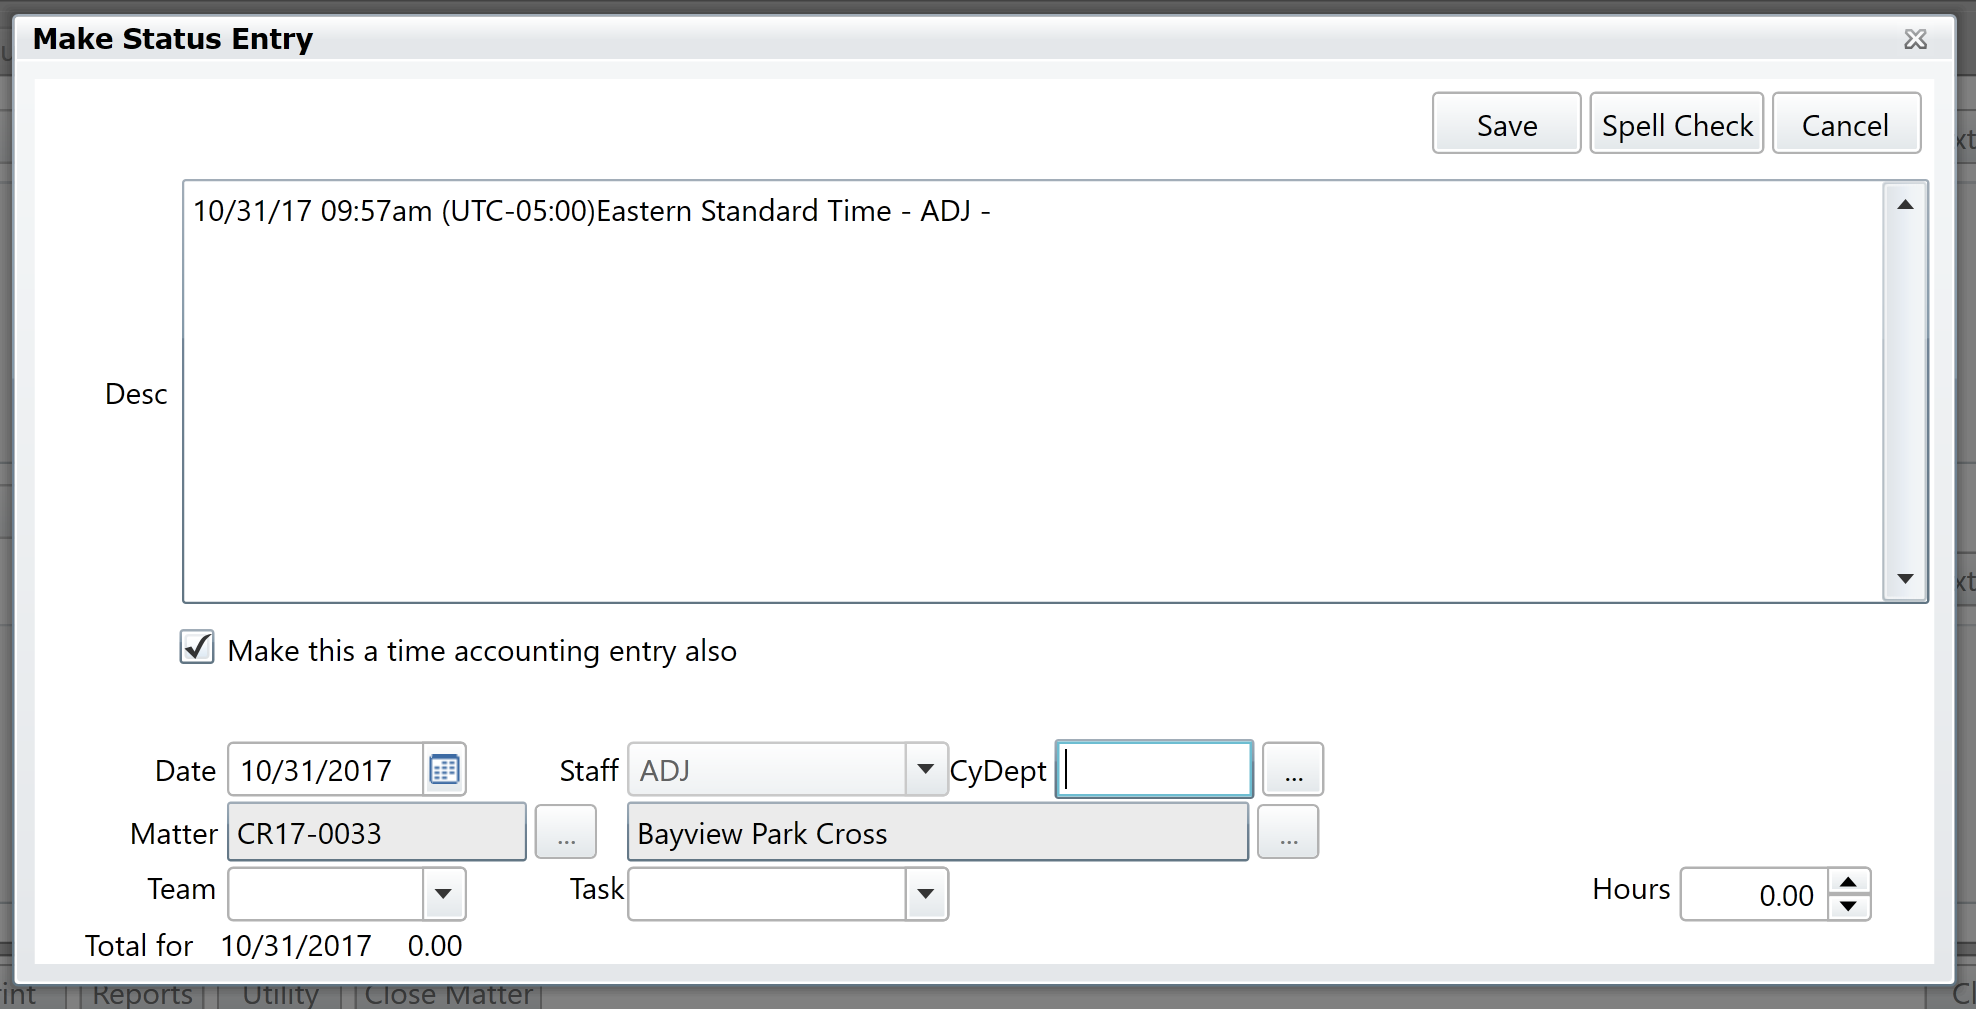
The Description field (“Desc”) is auto-populated with the current date and time, and the username of the current user. Short notes on the status of the matter are to be entered after this text.
Best Practice: Be as concise as possible when creating Status entries (e.g. “Contract sent back to department for review.”) and give more detail by creating a Note on the matter where necessary. Reference your note in your Status entry.
Disposition Section
The bottom half of the Status tab is the Disposition Section. From here you may do the following.
- Change the Disposition Code
- Enter a Complete Date for when the assignment was completed
- View the number of Days the assignment was open
- Perform a Spell Check
- Find Text in the disposition entries
- Make a new Disposition Entry

If the matter you are viewing has not been dispositioned, all fields will appear empty as in the screenshot above.
Disposition Entry
Press the Make Entry button to make a new Disposition Entry. The Make Disposition Entry window will appear.
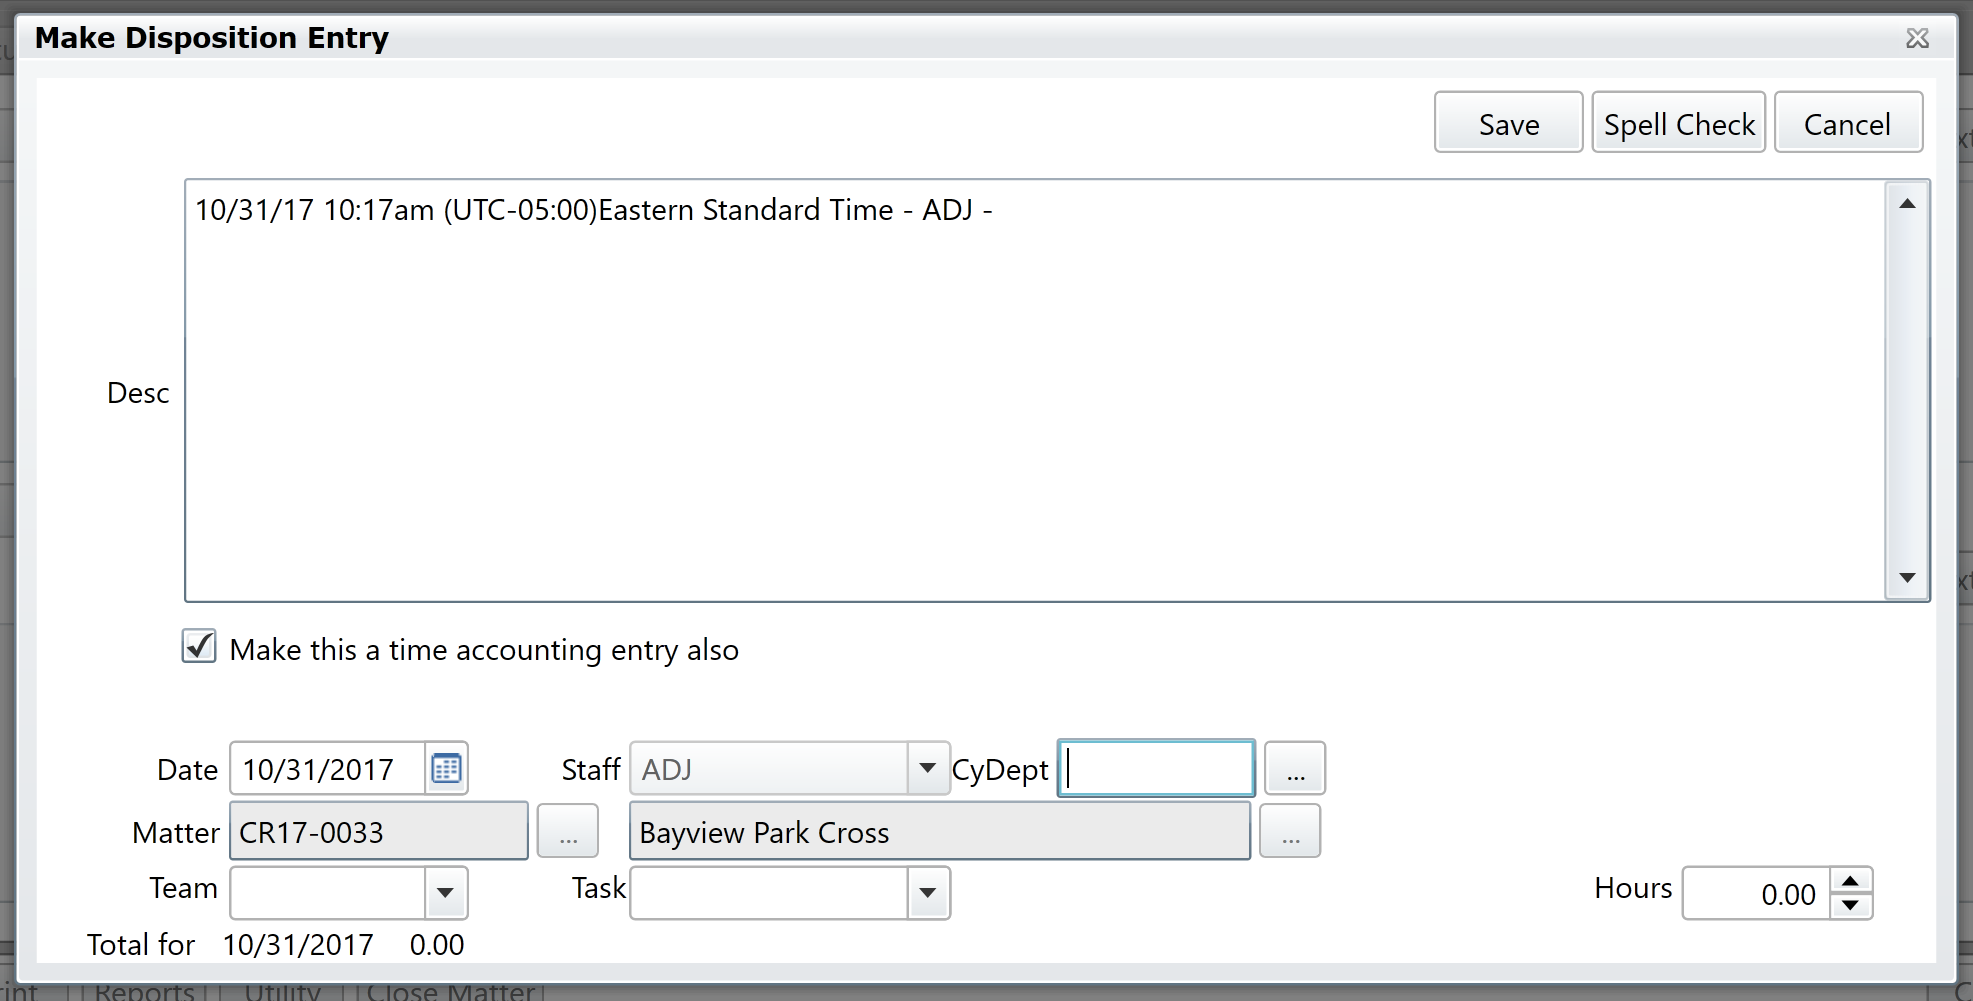
Dispositioning a Matter
When a matter is dispositioned, a Disposition Entry should always be created. However, creating a Disposition Entry will not automatically disposition the matter.
To disposition the matter, set its Disposition Code. A date should also be entered in the Complete Date field.
Note: You will not see the Days value update unless a Received Date has been entered for the matter. You made set the matter’s Received Date on the Basic tab.

Notes Tab
Notes can be created by Attorneys and Staff.
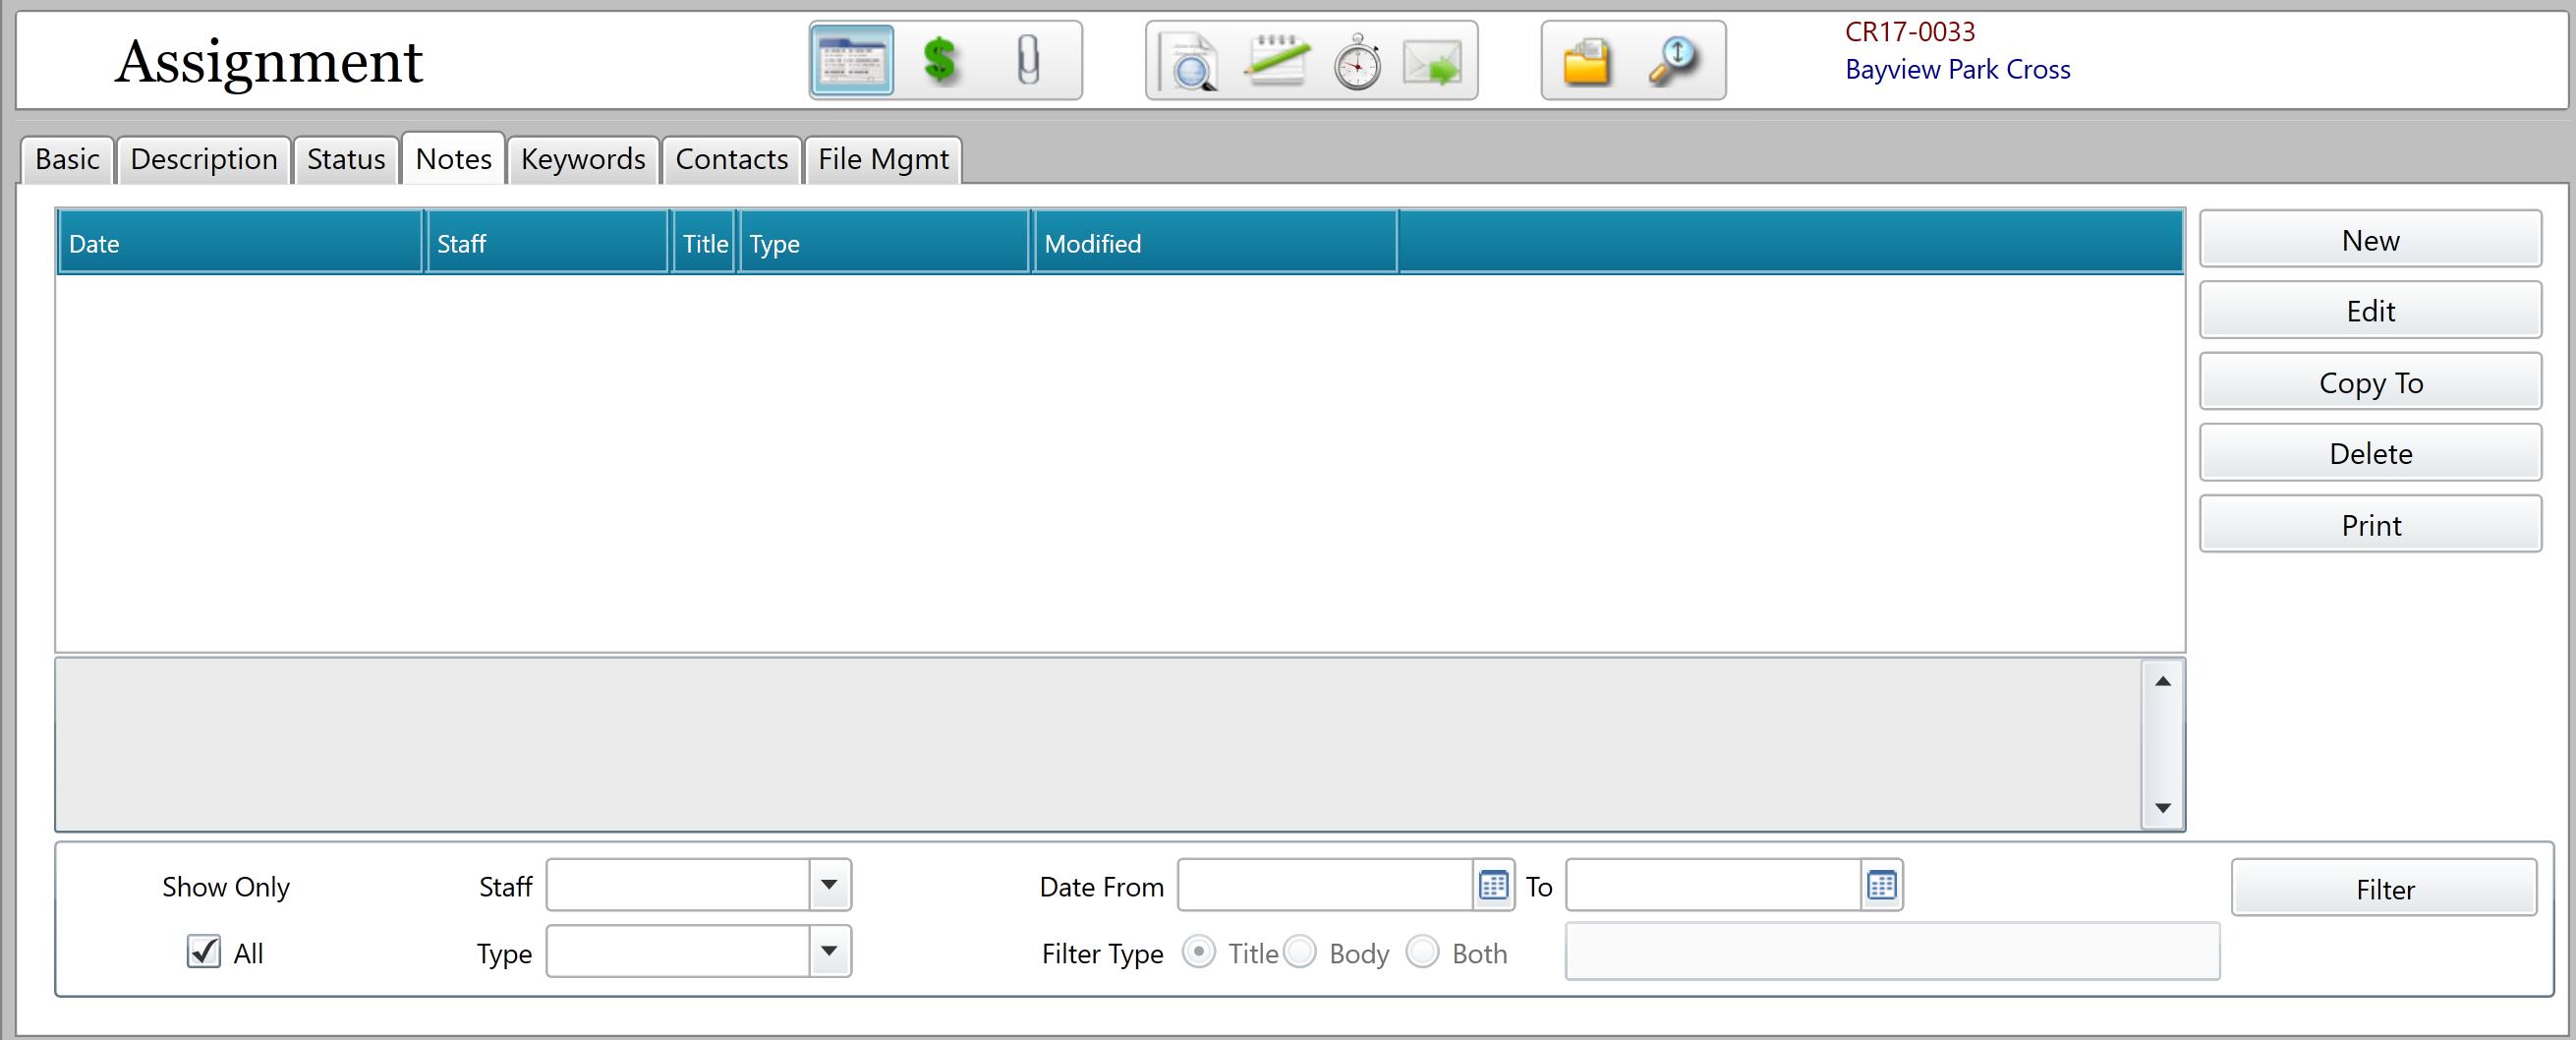
Creating a Note
Press the New button to create a new Note. The Memo Field Description window opens.
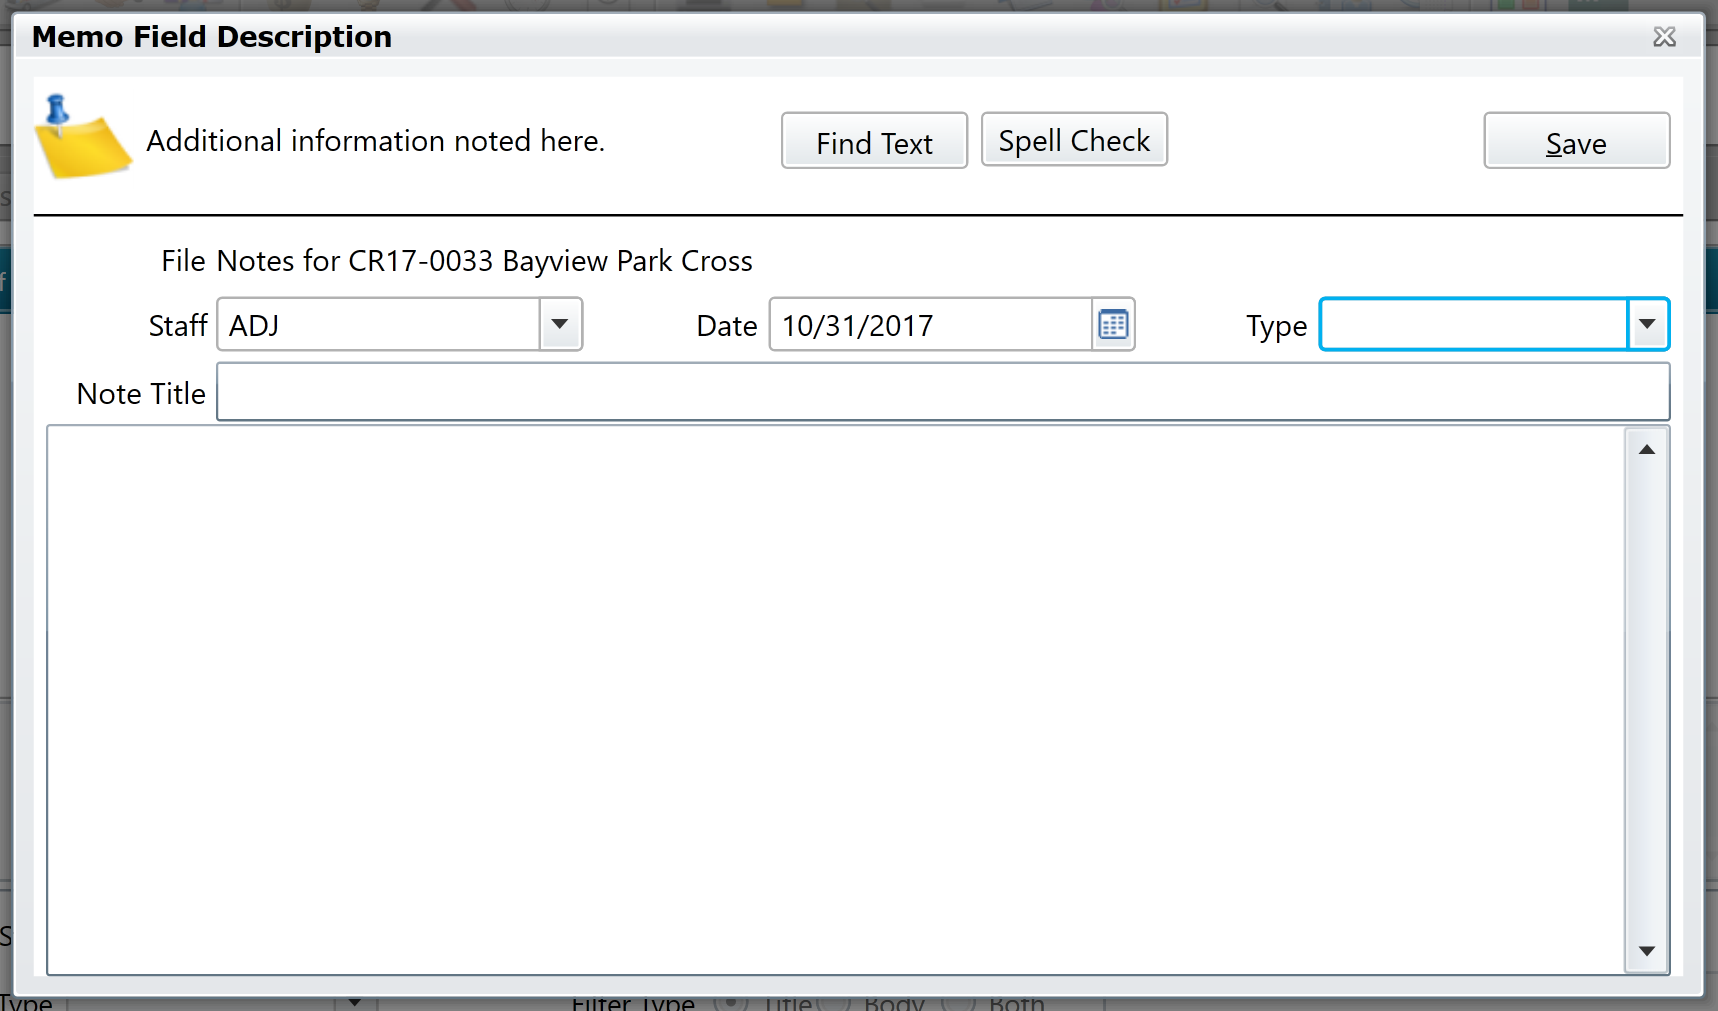
Select a Type Code for the Note and enter a Title and the Body content, then press the Save button to add the Note to the matter. The Memo Field Description window closes and you are returned to the Notes tab.
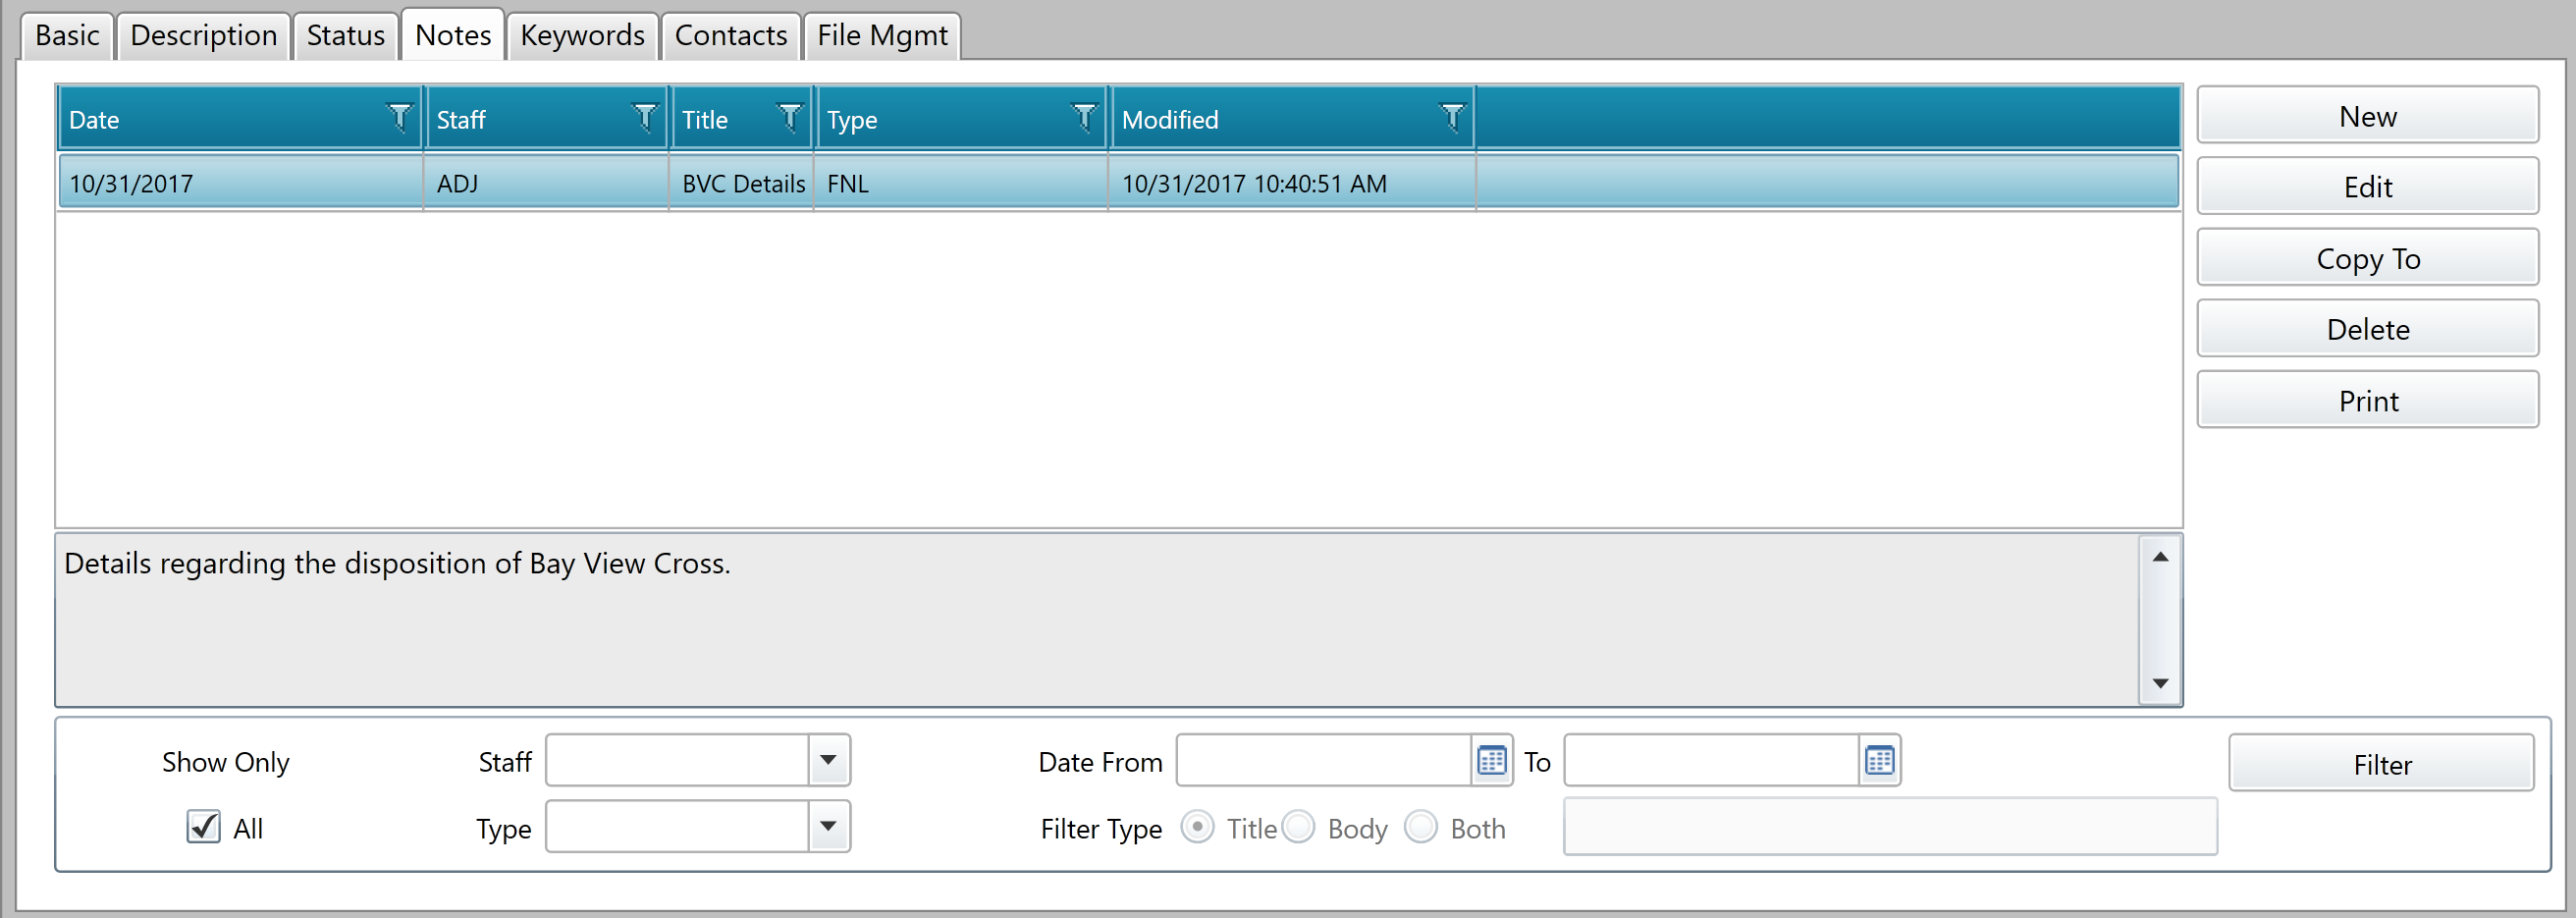
Select a Note in the Notes Grid, and the gray read-only textbox below will display a preview of the Note’s content.
Editing a Note
On the Notes tab, select a Note in the Notes Grid and press the Edit button on the right-hand side of the Notes tab to edit it. You may also double-click the Note in the Notes Grid.
The Memo Field Description window will appear, allowing you to make changes to the Note. When finished, press the Save button to save your changes.
Comments
0 comments
Please sign in to leave a comment.