
Need a printable version of this article? Download the Article (PDF Version).
Note: This article is for Windows 10 compatibility.
Need a reminder? Use the Quick Reference Guide.
Need more details? Check out the Standard Guide.
Quick Reference Guide
There are 6 steps to complete this task:
-
Open the Registry Editor.
-
Navigate to the System registry subkey: HKEY_LOCAL_MACHINE\SOFTWARE\Microsoft\Windows\CurrentVersion\Policies\System
-
Create a new EnableLinkedConnections subkey.
-
Modify the EnableLinkedConnections value.
-
Exit Registry Editor.
-
Restart the computer.
Standard Guide
Step 1. Open the Registry Editor.
Press Start (Windows logo) on the Taskbar or press Windows logo key + S to start a Search.

Type regedit and press Enter. (Note: Depending on the configuration, the search field may not be visible until typing begins.)
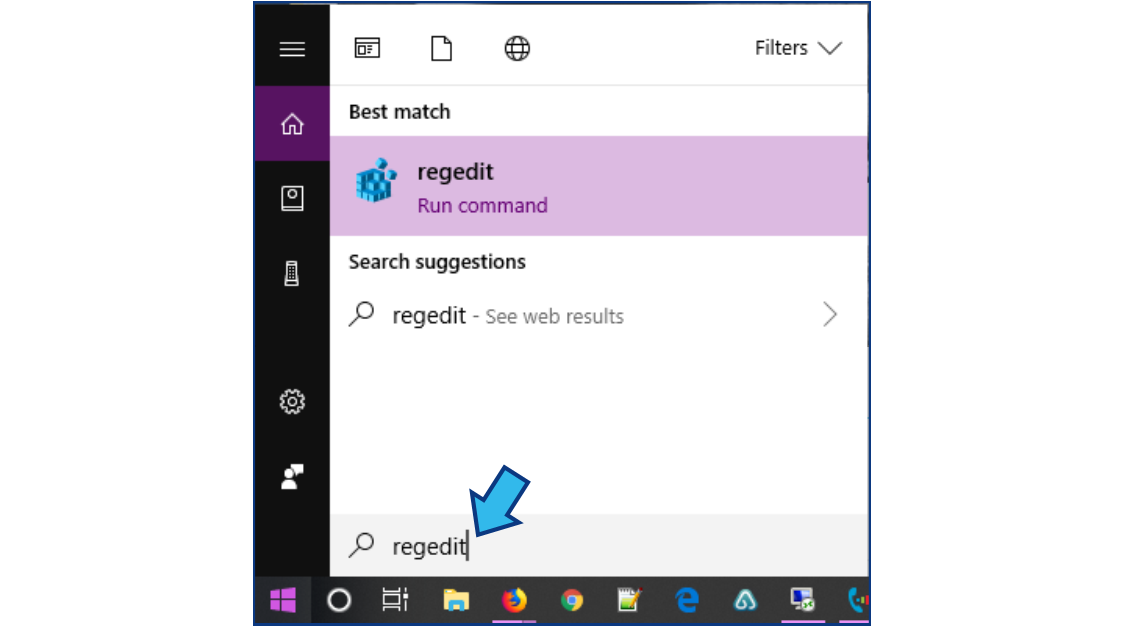
Press Yes to allow changes to be made. The Registry Editor window will appear.
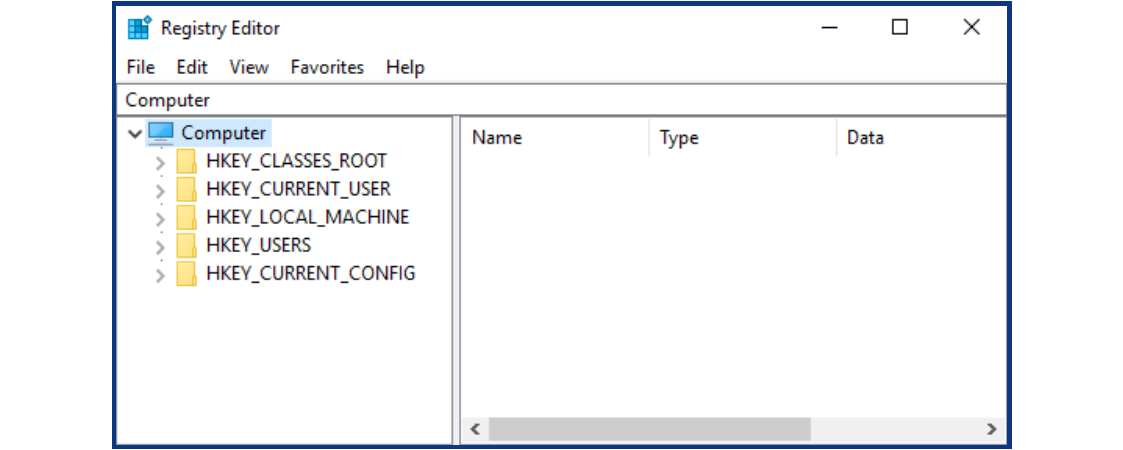
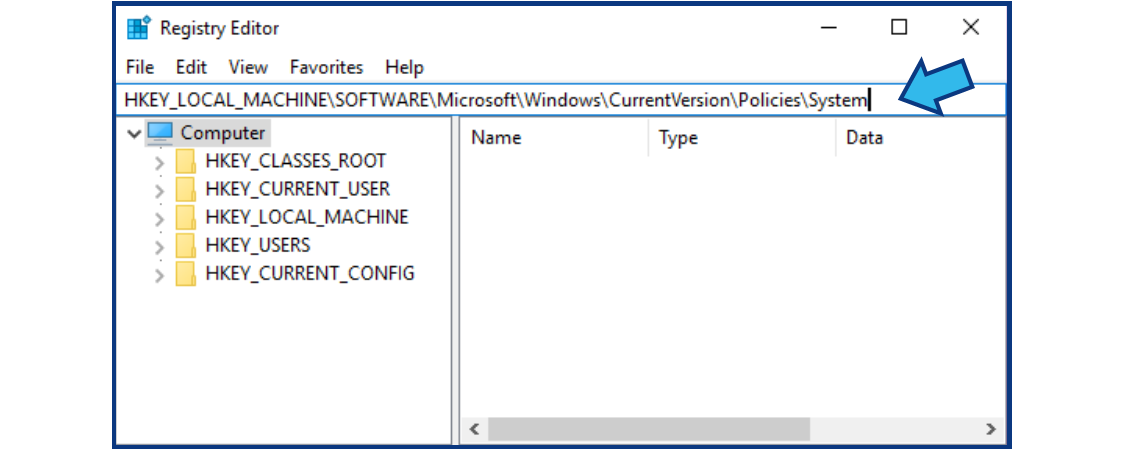
Step 2. Navigate to the System registry subkey.
Paste or type the following into the Address Bar. (Note: If Address Bar is not visible, select View and Address Bar to make it visible.)
HKEY_LOCAL_MACHINE\SOFTWARE\Microsoft\Windows\CurrentVersion\Policies\System
Step 3. Create a new EnableLinkedConnections subkey.
Right-click System, point to New, and select DWORD Value.
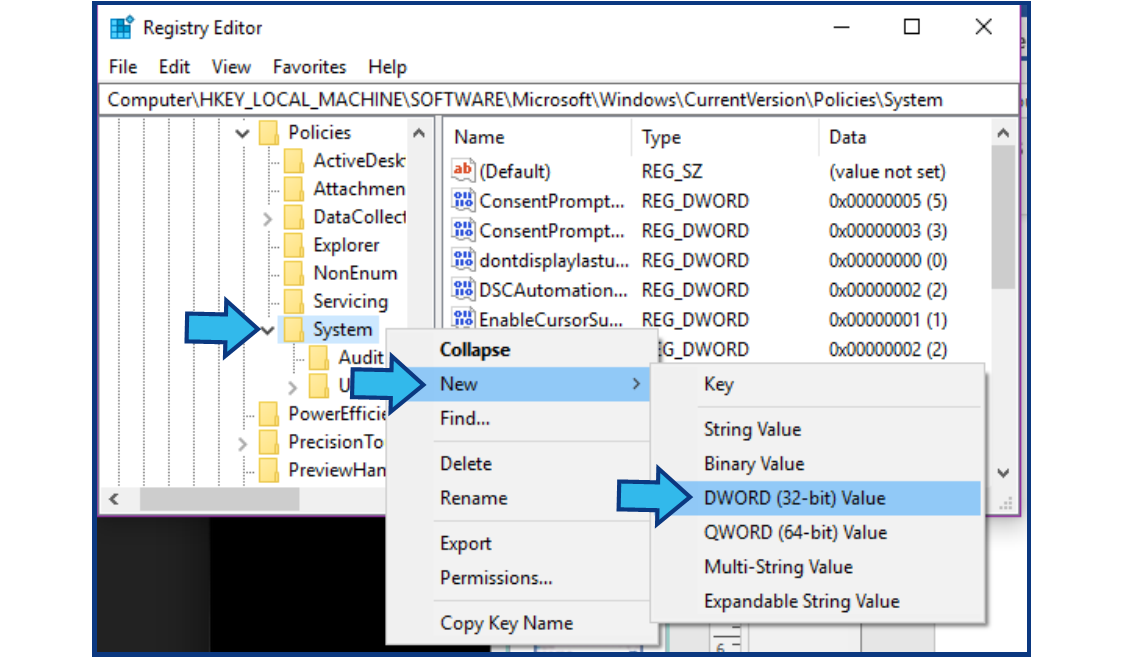
A new subkey appears in the System folder.

Type EnableLinkedConnections and press the Enter key.

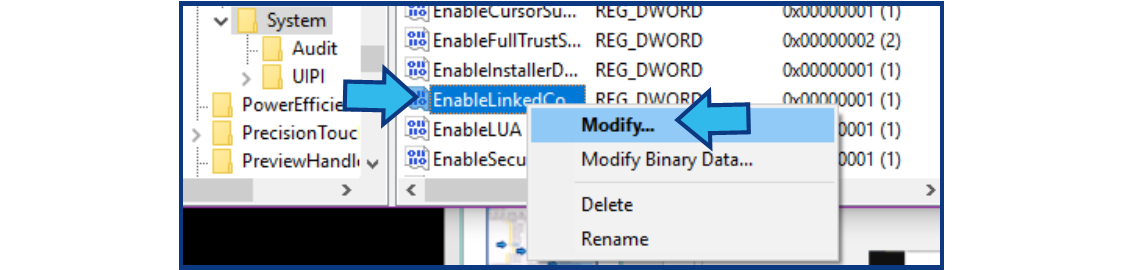
Step 4. Modify the EnableLinkedConnections value.
Right-click EnableLinkedConnections and select Modify...
In the Value data field in the Edit DWORD Value window, type 1, then press OK.

Step 5. Exit Registry Editor.
Exit the Registry Editor by pressing the X (Close) button.

Step 6. Restart the computer.
In the Taskbar press Start (Windows logo), press Power, and select Restart. (Note: Save and close any other applications first.)
Comments
0 comments
Please sign in to leave a comment.