
Need a reminder? Use the Quick Reference Guide.
Need more details? Check out the Standard Guide.
Need it print-friendly? Download the Article (PDF Version).
Quick Reference Guide
There are 7 steps to complete this task:
-
Confirm workstation and scanner are prepared.
-
Open ScanSnap Home.
-
Select Auto Scan tab.
-
Press Edit Profiles icon.
-
Configure Auto Scan settings.
-
Press Save.
-
Confirm scanner integrates properly with CityLaw / CountyLaw.
Standard Guide
Step 1. Confirm workstation and scanner are prepared.
In order to setup an iX1500 ScanSnap scanner to work with CityLaw / CountyLaw, the scanner must be connected to the user’s workstation, turned on, and the proper ScanSnap software must be installed and updated. The user should be logged on as usual.
Step 2. Open ScanSnap Home.
To open ScanSnap Home, press the Windows key and begin typing ScanSnap. If installed correctly, ScanSnap Home will appear in the Apps list and should be highlighted. Press the Enter key or select with the mouse to open ScanSnap Home.
To add ScanSnap Home to the Taskbar, before pressing Enter or selecting with the mouse to open ScanSnap Home, right-click and select Pin to Taskbar.

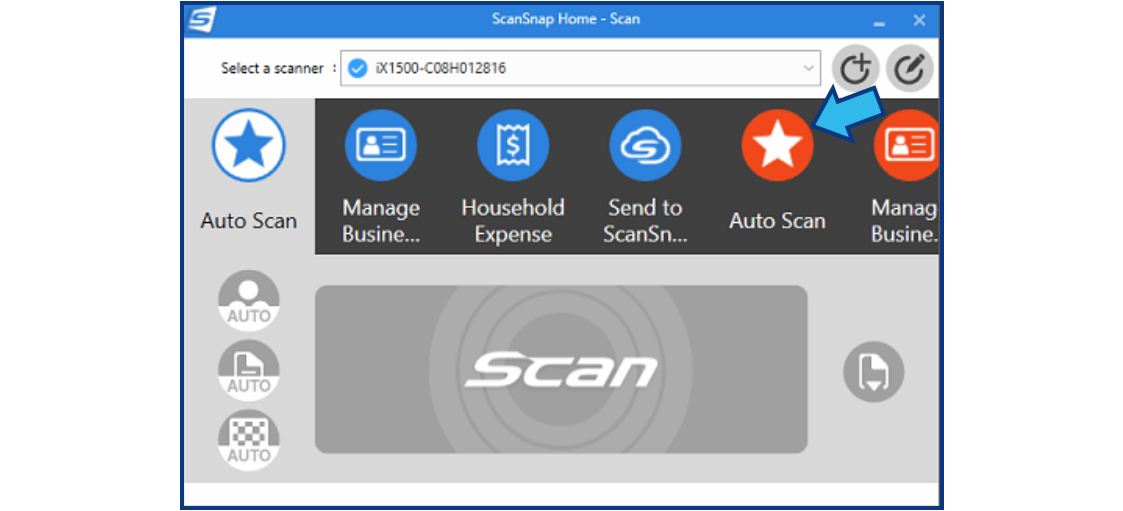
Step 3. Select Auto Scan tab.
After completing Step 2, the ScanSnap Home - Scan window appears. Select the Auto Scan tab located near the top-right side (red circle with a white star inside).
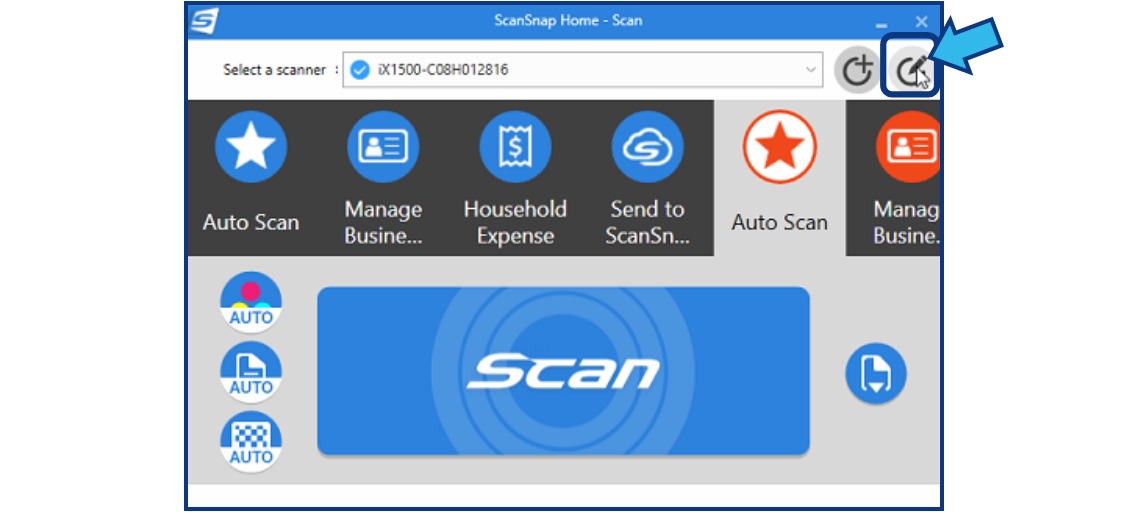
Step 4. Press Edit Profiles icon.
The Edit Profiles icon can be found in the top-right corner of the ScanSnap Home - Scan window.
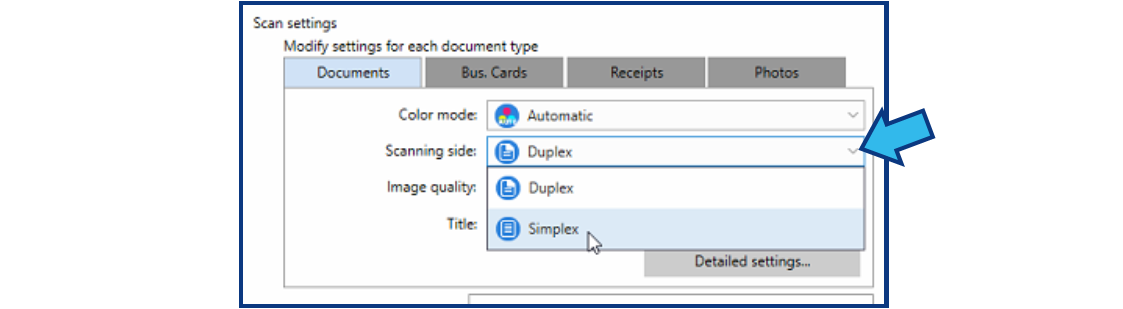
Step 5. Configure Auto Scan settings.
To configure the scanner, change or confirm all the following Auto Scan settings:
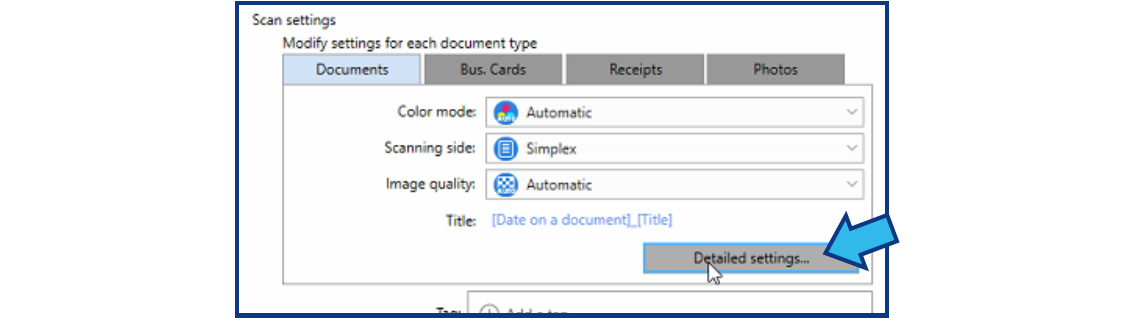
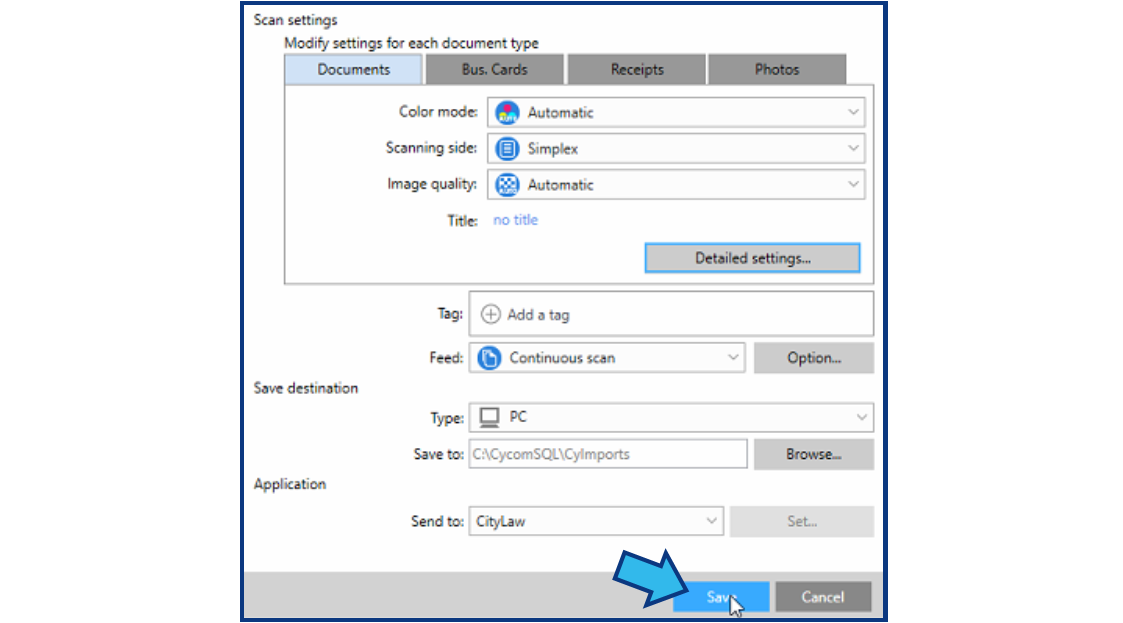
In the drop-down for Scanning side, select Simplex.
Press Detailed settings...
Select the Title tab.
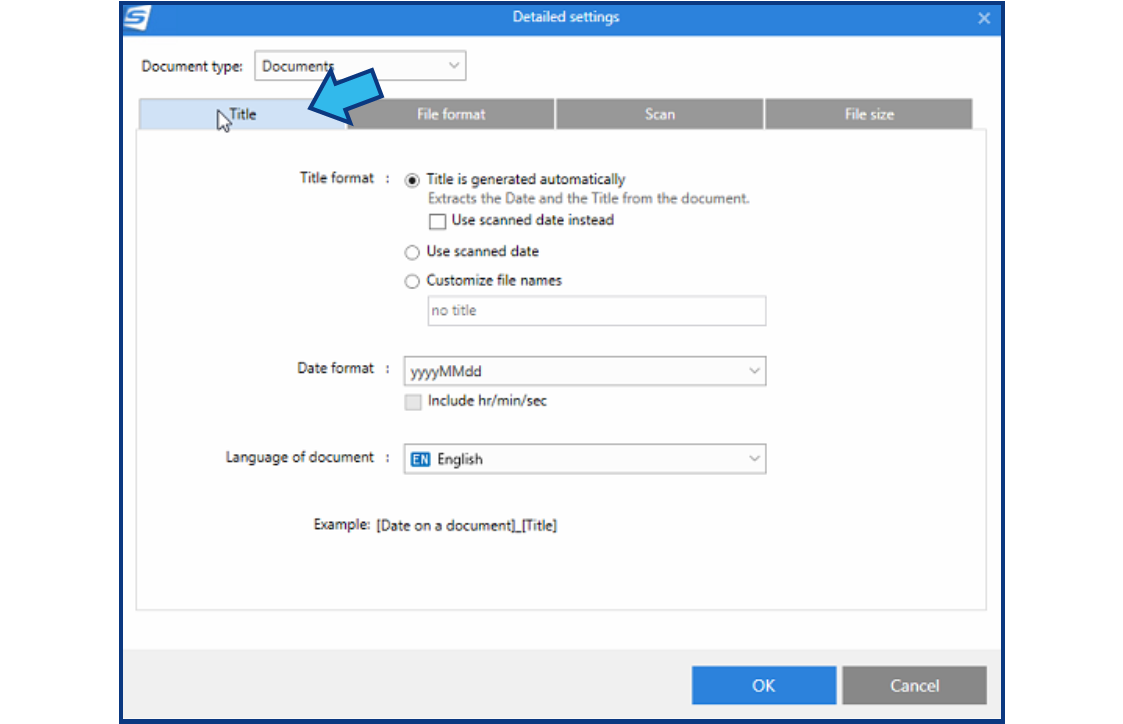
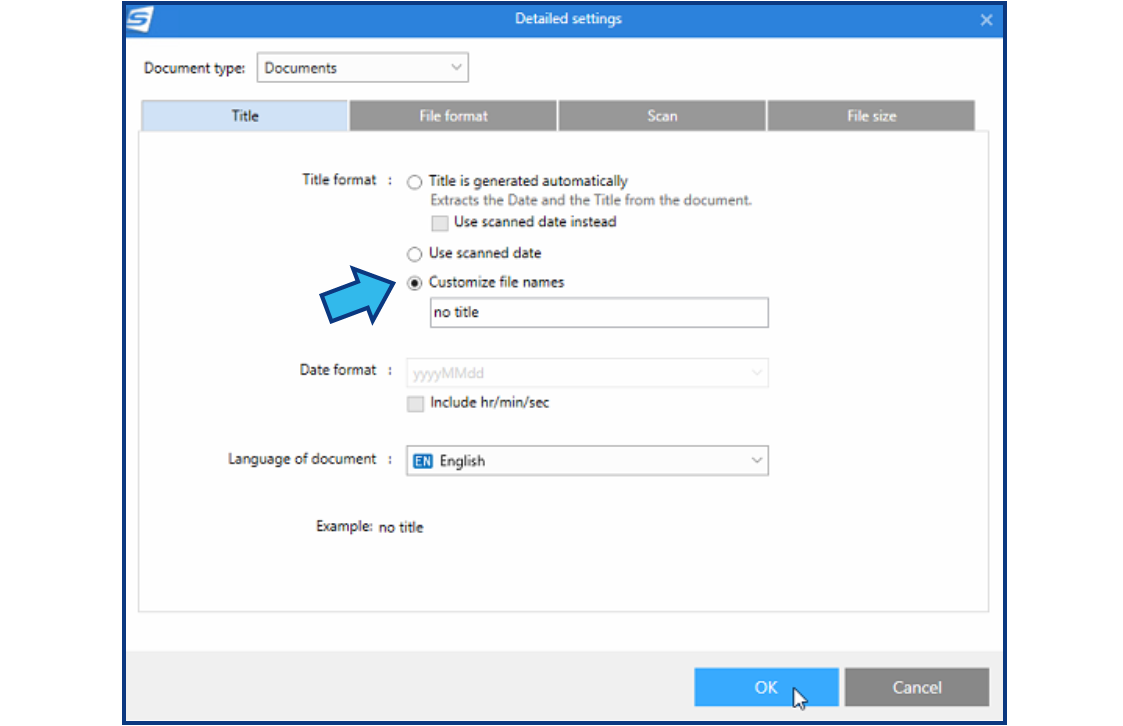
Select the Customize file names radio button and press OK.
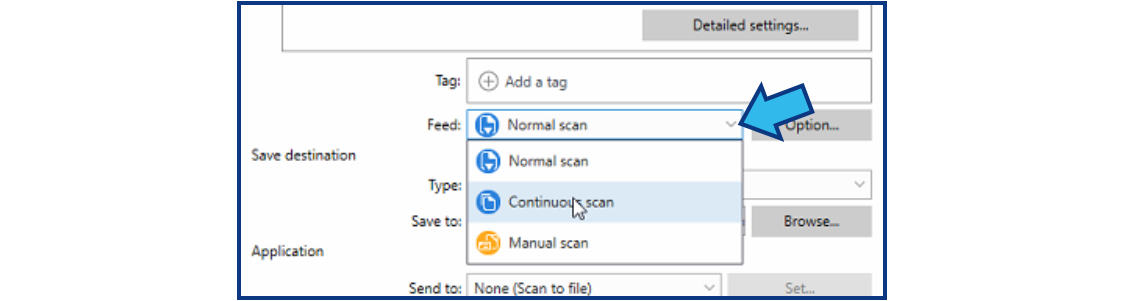
In the drop-down for Feed, select Continuous scan.
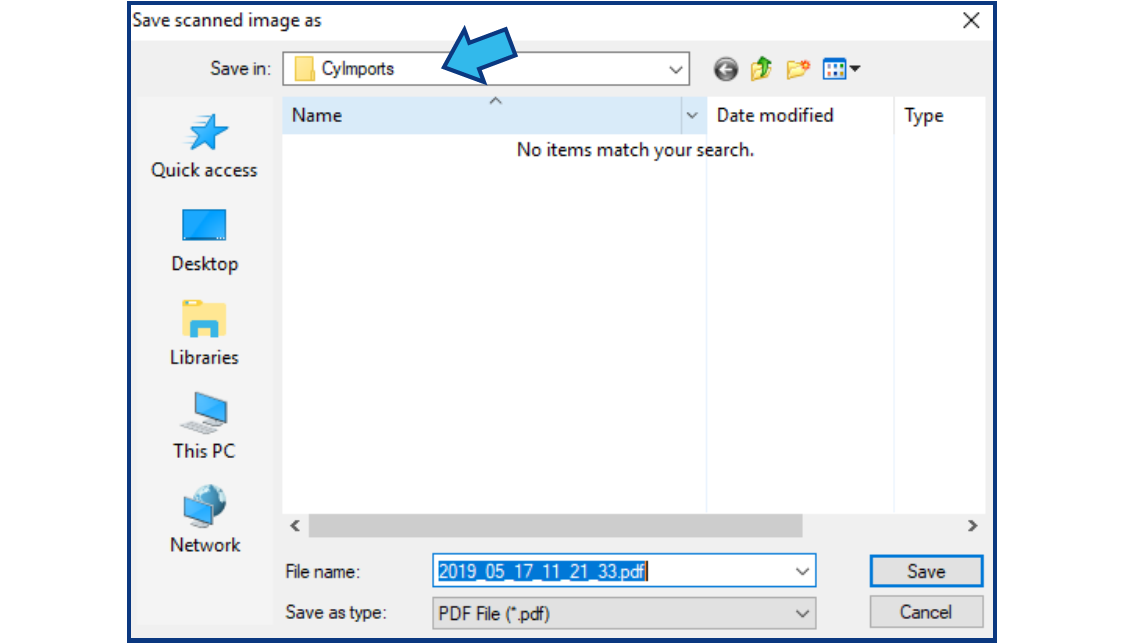
Press Browse... beside the Save to field.
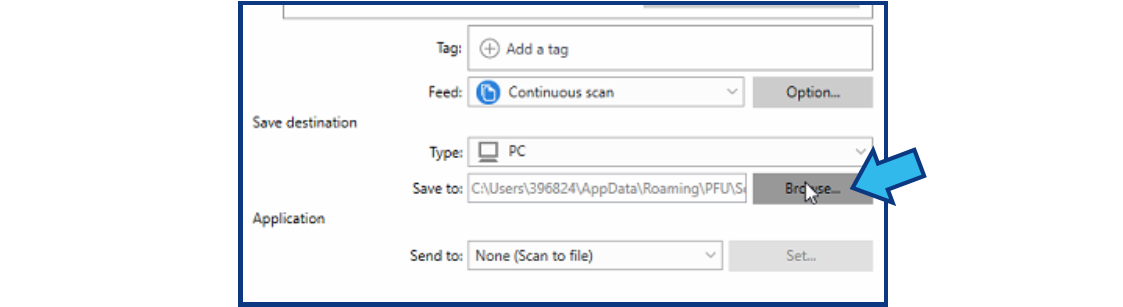
Navigate to the C:\CycomSql folder and select the CyImports folder. If you do not see a CyImports folder, add one by pressing CTRL + SHIFT + N and make sure to do this inside the C:\CycomSql folder.

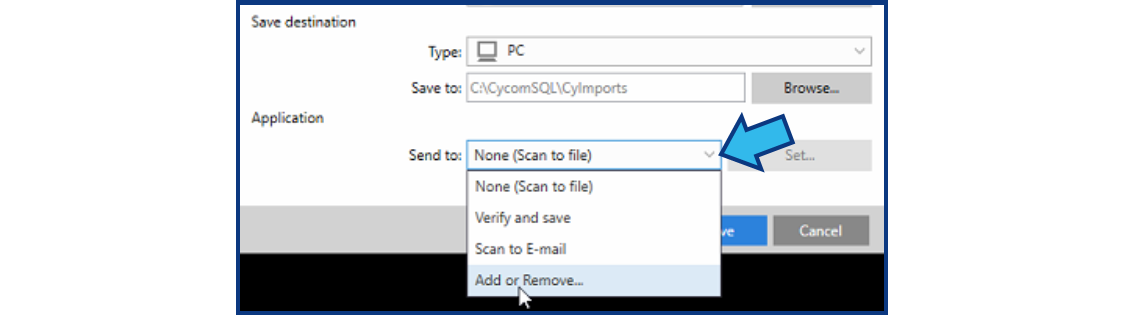
In the drop-down for Send to, select Add or remove...
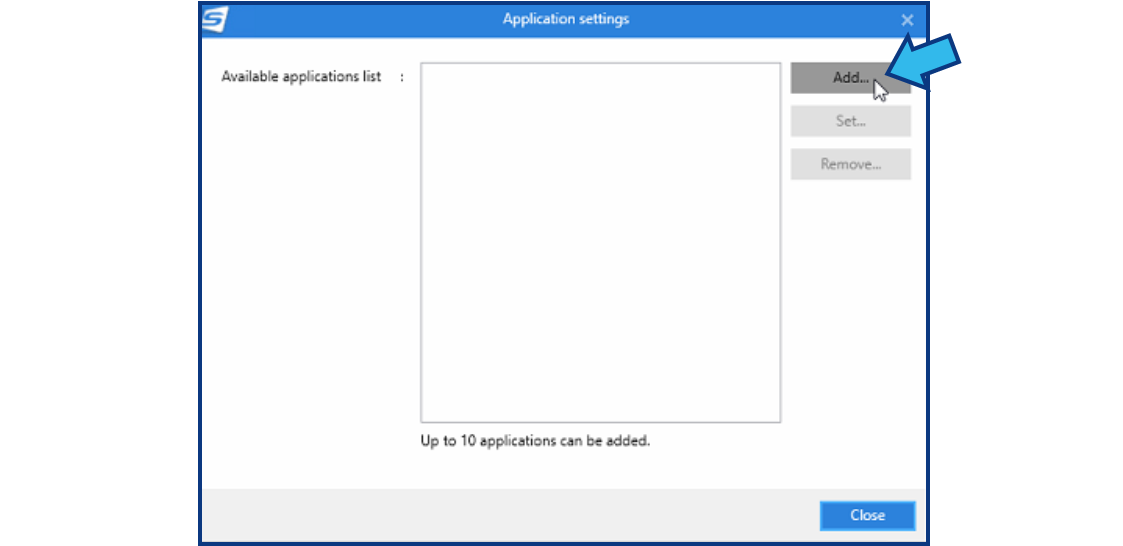
Press Add...
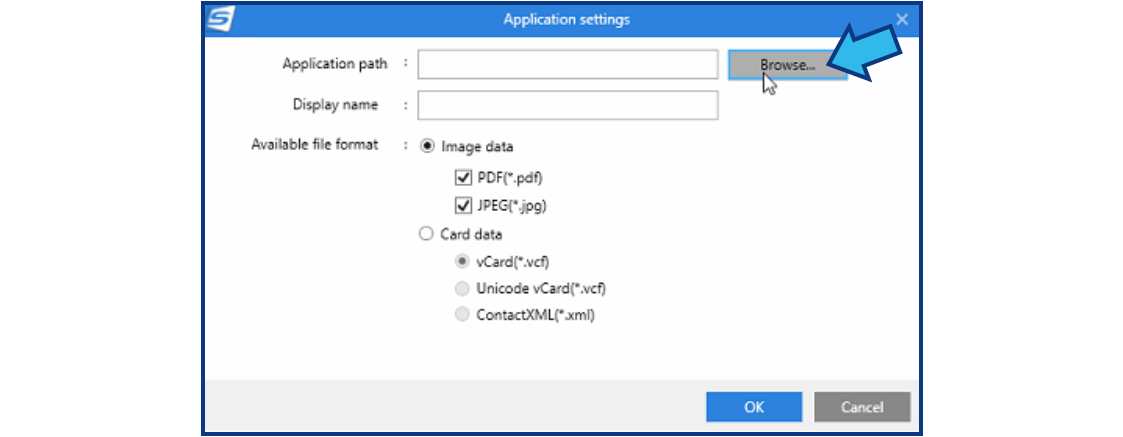
Press Browse...
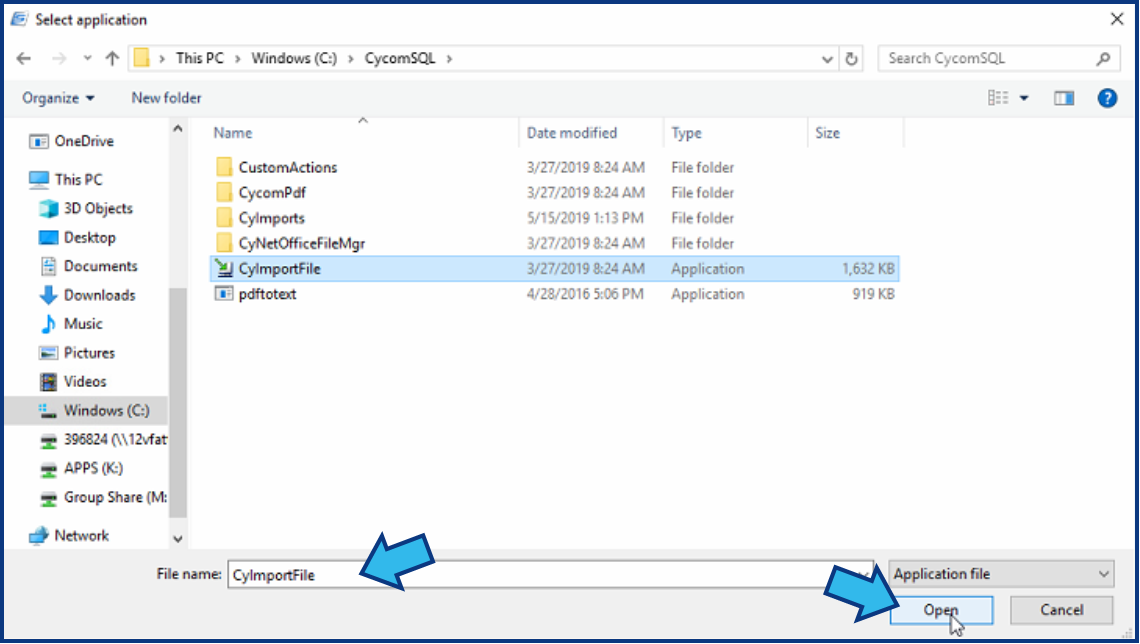
Navigate to the C:\CycomSql folder and select the CyImportFile application.
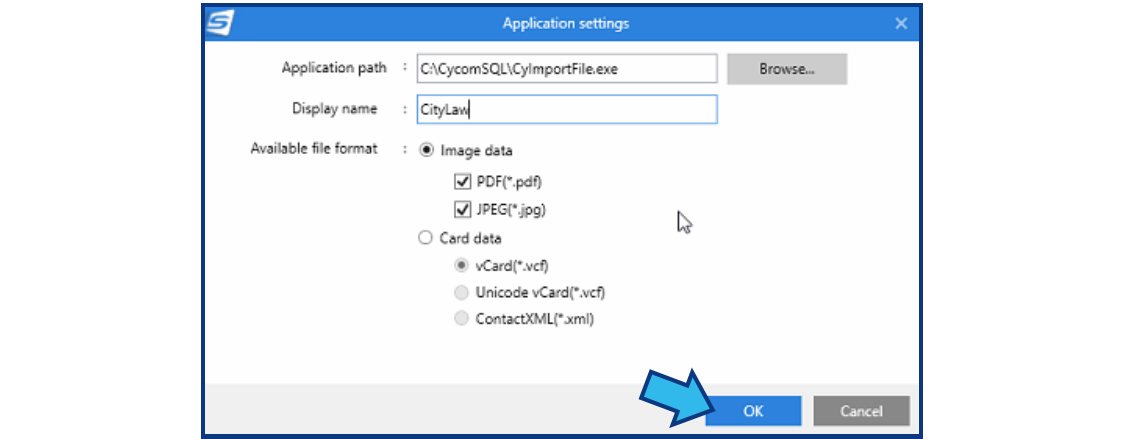
In the Display name field, enter CityLaw or CountyLaw.
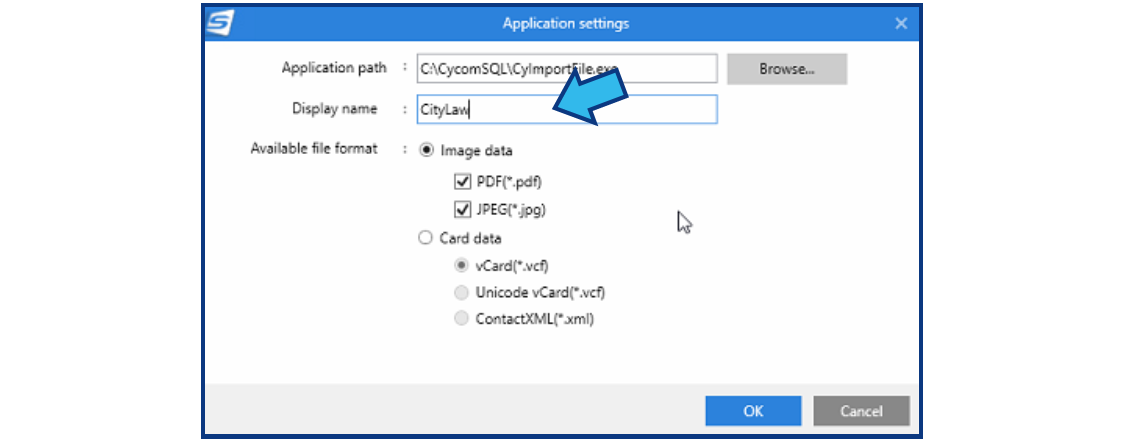
Press OK.
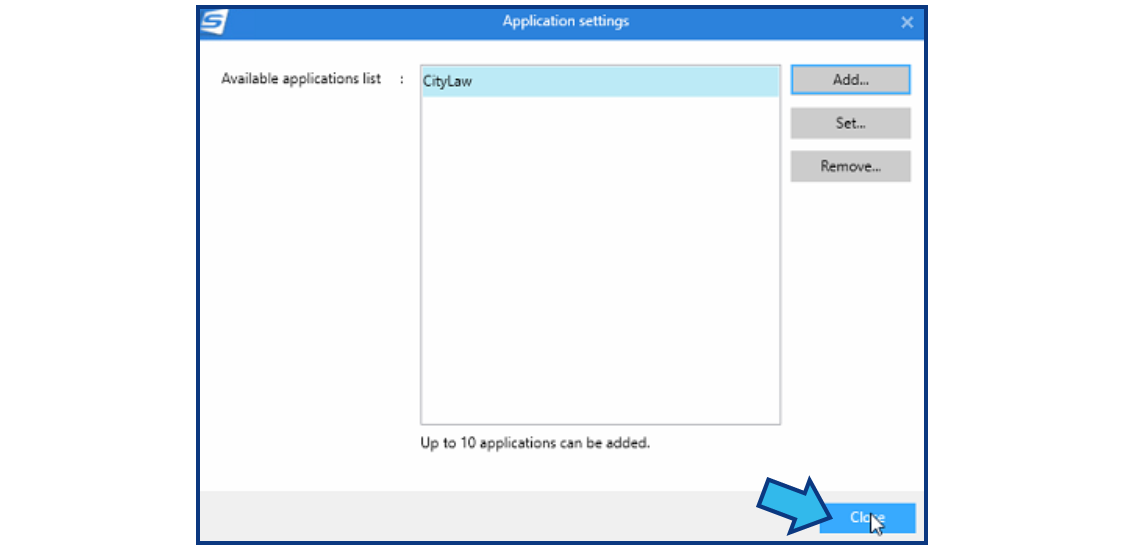
Press Close.
In the drop-down for Send to, select CityLaw or CountyLaw.

Press Yes to continue.

Step 6. Press Save.
Press the Save button located at the bottom.
Step 7. Confirm scanner integrates properly with CityLaw / CountyLaw.
Scan a document and verify the file is saved in the CyImports folder and that the user is prompted by CityLaw / CountyLaw to provide/confirm a title and assign a matter.
Comments
0 comments
Please sign in to leave a comment.