
Need a printable version of this article? Download the Article (PDF Version).
Does the user see a login prompt when opening CLW?

If your site does not require users to login with a password, this prompt can be removed.
Depending on your site configuration, the prompt may be removable by anyone with access to the System Management module using Method #1.
If the prompt is not removed after completing the steps for Method #1, a System Administrator with the Admin Password will need to perform the steps in Method #2.
Method #1
Complete the following 8 steps:
-
Open System Management.
-
Select the user type.
-
Open the user's contact record.
-
Enter the user's Net User ID.
-
Uncheck Force login password.
-
Press Save.
-
Add the CLW URL to Trusted Sites.
-
Test if Method #1 worked.
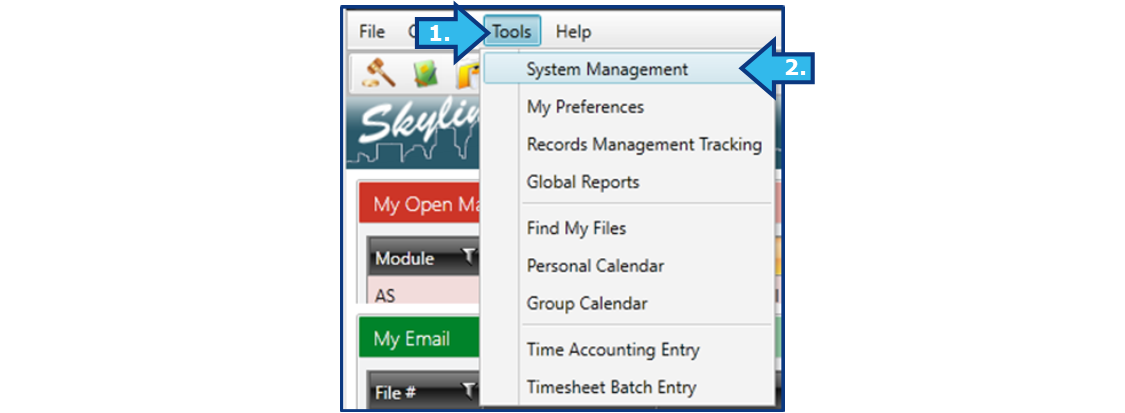
Step 1. Open System Management.
The System Management module can be opened by either selecting the System Management icon from the Global Toolbar or selecting Tools from the Menu Bar and then selecting System Management. If you do not see the System Management icon in the Global Toolbar or as an option in the File menu, you do not have access to the System Management module.
![]()
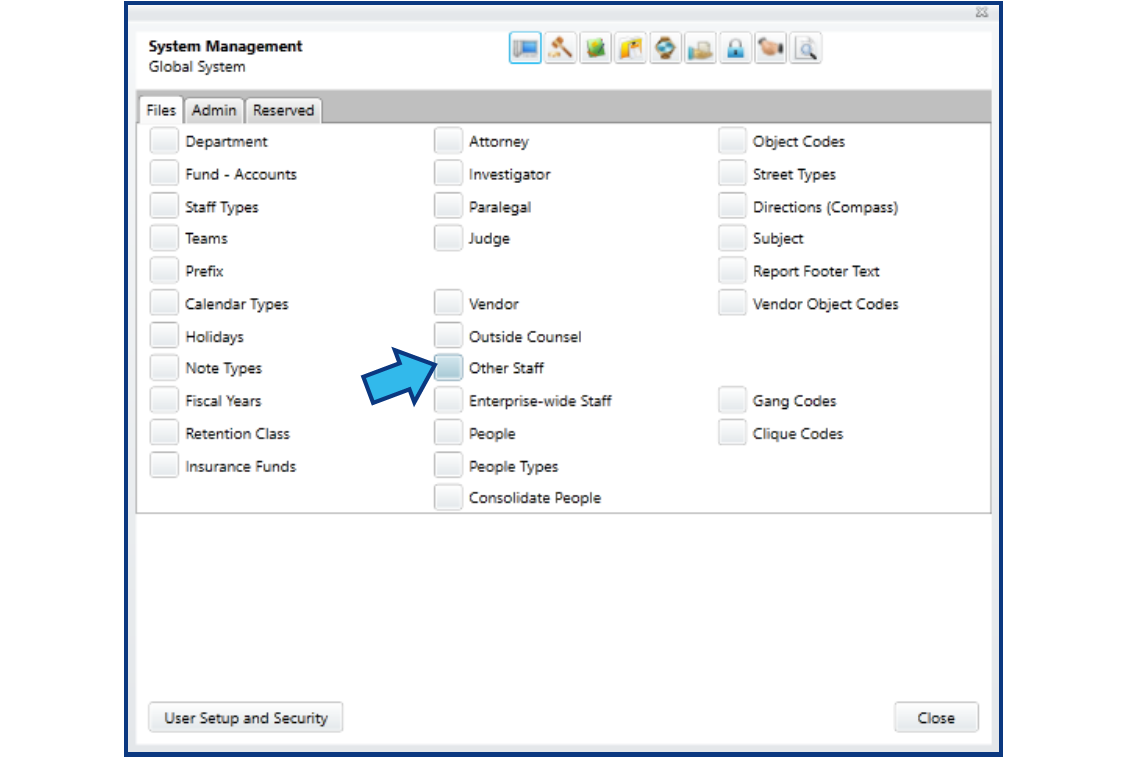
Step 2. Select the user type.
On the Files tab of the Global System section, select the user's user type. In this example, the user is an Other Staff type.
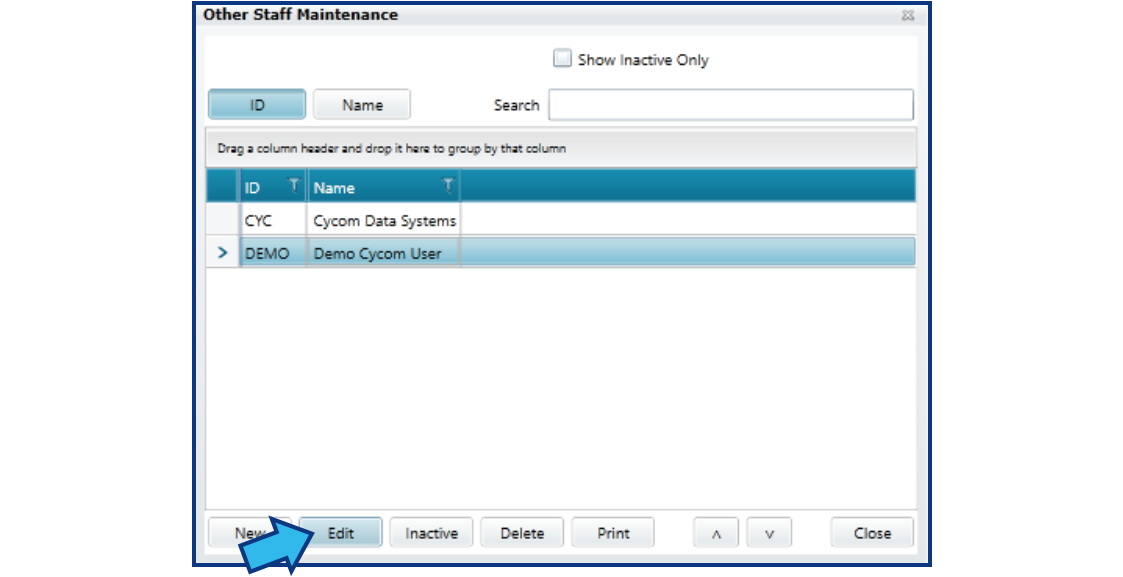
Step 3. Open the user's contact record.
Left-click on the user to highlight their name and then press Edit to open the user's contact record.
Step 4. Enter the user's Net User ID.
The user's Net User ID is their Windows net user account name and it is case sensitive. If you do not know the user's Net User ID, check out this article: Find a user's Net User ID. (Note: If there is already a value entered into this field, do not assume the Net User ID is entered correctly. The most common problem causing the login prompt to appear is an incorrect Net User ID. Verify the user's Net User ID and re-enter the value.)
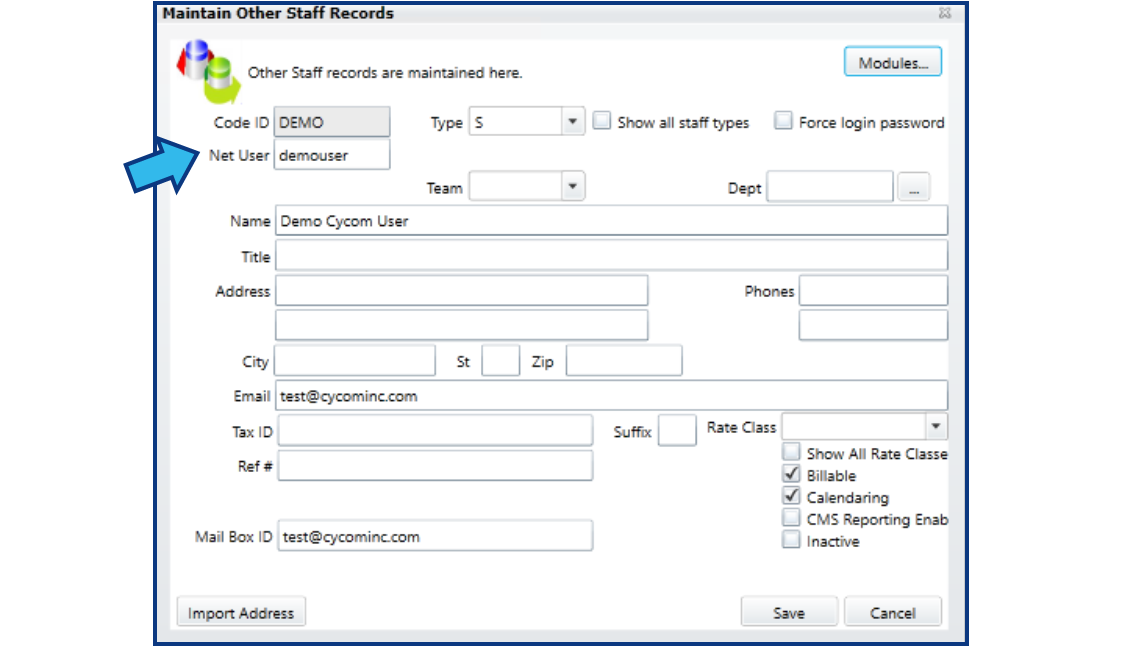
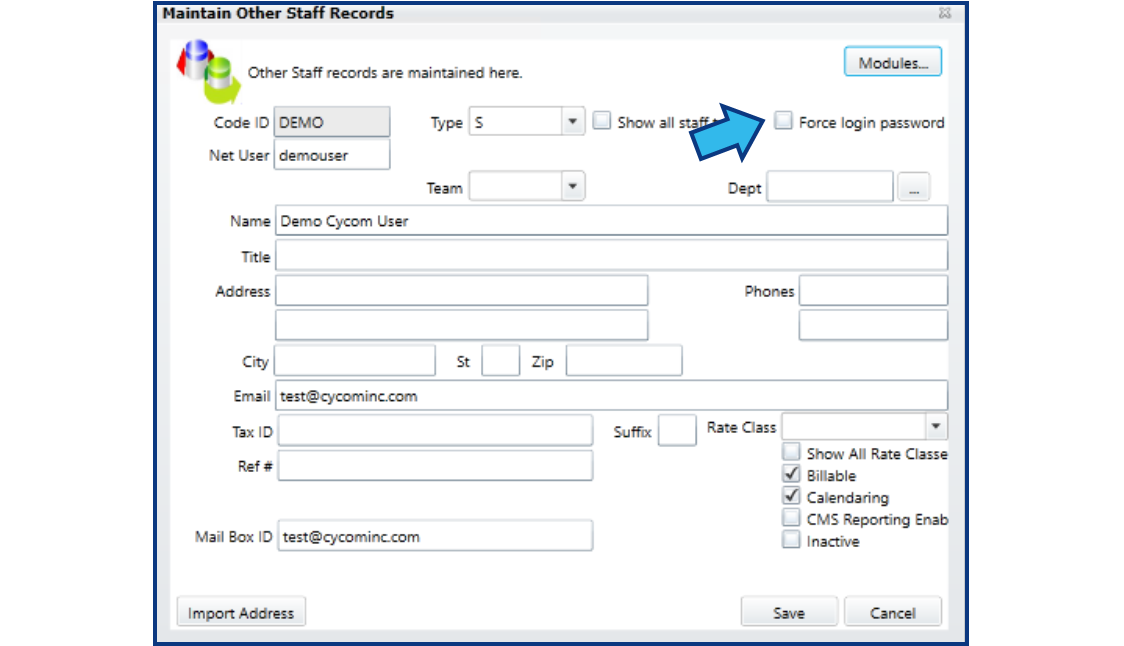
Step 5. Uncheck Force login password.
Make sure the box for Force login password is not checked.
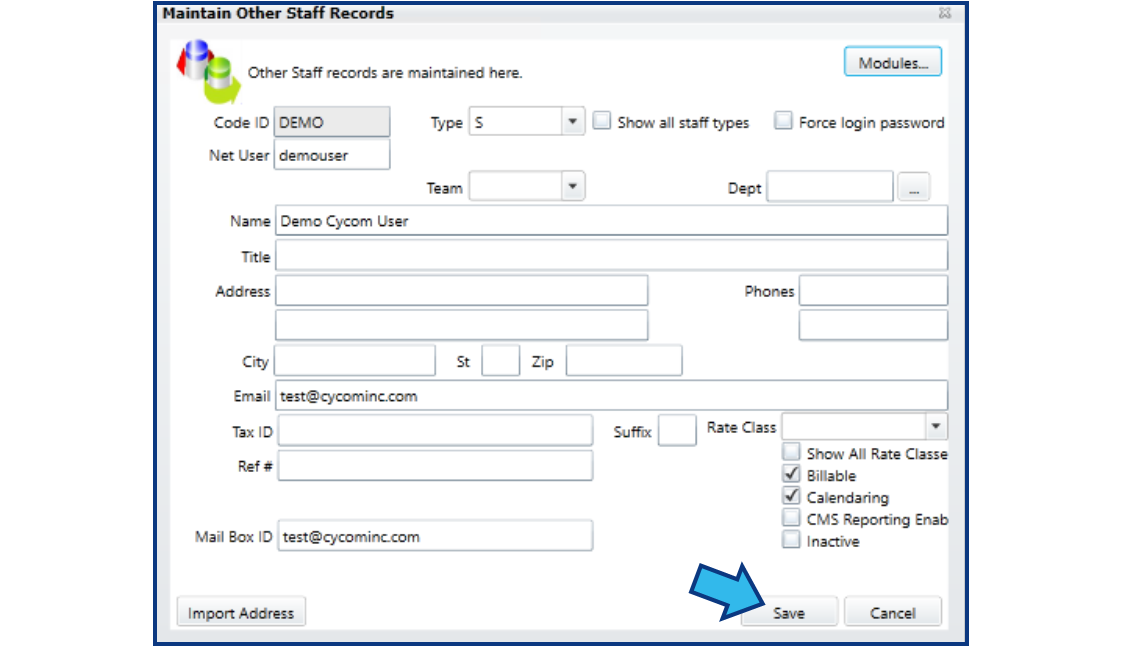
Step 6. Press Save.
Save the user's contact record by pressing Save.
Step 7. Add the CLW URL to Trusted Sites.
Confirm the URL for CityLaw / CountyLaw has been added to Trusted Sites. If you don't know how to do this step, check out this article: Add CLW to Trusted Sites.
Step 8. Test if Method #1 worked.
Close CLW and log onto the system as the user or have them log on their own device. Open CLW. Is the prompt gone?
If the prompt is still present, try Method #2.
Method #2
For security, some sites are configured to require that a System Administrator enable new users by assigning them passwords. Until this step is done, a new user will not be able to enter CLW and they will see the login prompt. Enabling a user using this process requires the Admin Password.
Complete the following 6 steps:
-
Open User Setup and Security.
-
Enter the Admin password.
-
Select the user and press Edit Password.
-
Create a temporary password.
-
Open CLW as the user.
-
Test if Method #2 worked.
Step 1. Open User Setup and Security.
To open User Setup and Security, select Options from the Menu Bar and select User Setup and Security. (In later versions, User Setup and Security is also available in the lower left corner of the System Management module.)

Step 2. Enter the Admin password.
When prompted, enter the Admin Password. If you do not know the Admin Password, you will not be able to complete Method #2.

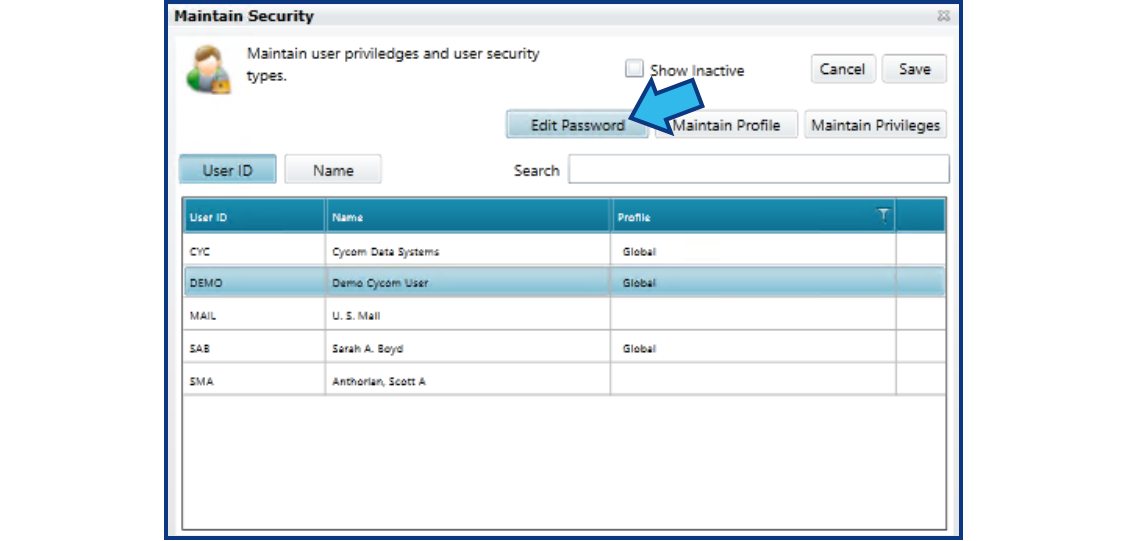
Step 3. Select the user and press Edit Password.
Left-click the user in the list to highlight their name, then press Edit Password.
Step 4. Create a temporary password.
Enter a temporary password, press the Tab key, and then re-enter the temporary password. Press Save and close CLW. The temporary password can be any combination of alphanumeric characters.

Step 5. Open CLW as the user.
Log onto the system as the user or have them log on their own device and open CLW.
Step 6. Test if Method #2 worked.
If the source of the login prompt was due to security configuration settings, the user will be prompted to enter a new password (see the image below).

Enter the temporary password from Step 4 in the Current Password field. Enter a new password in the New Password field. Re-enter that password in the Re-enter New Password field. Press Save and close CLW. Now when the user opens CLW, the login prompt should be gone.
If Method #2 did not work and the login prompt remains, please contact Cycom Support.
Comments
0 comments
Please sign in to leave a comment.